
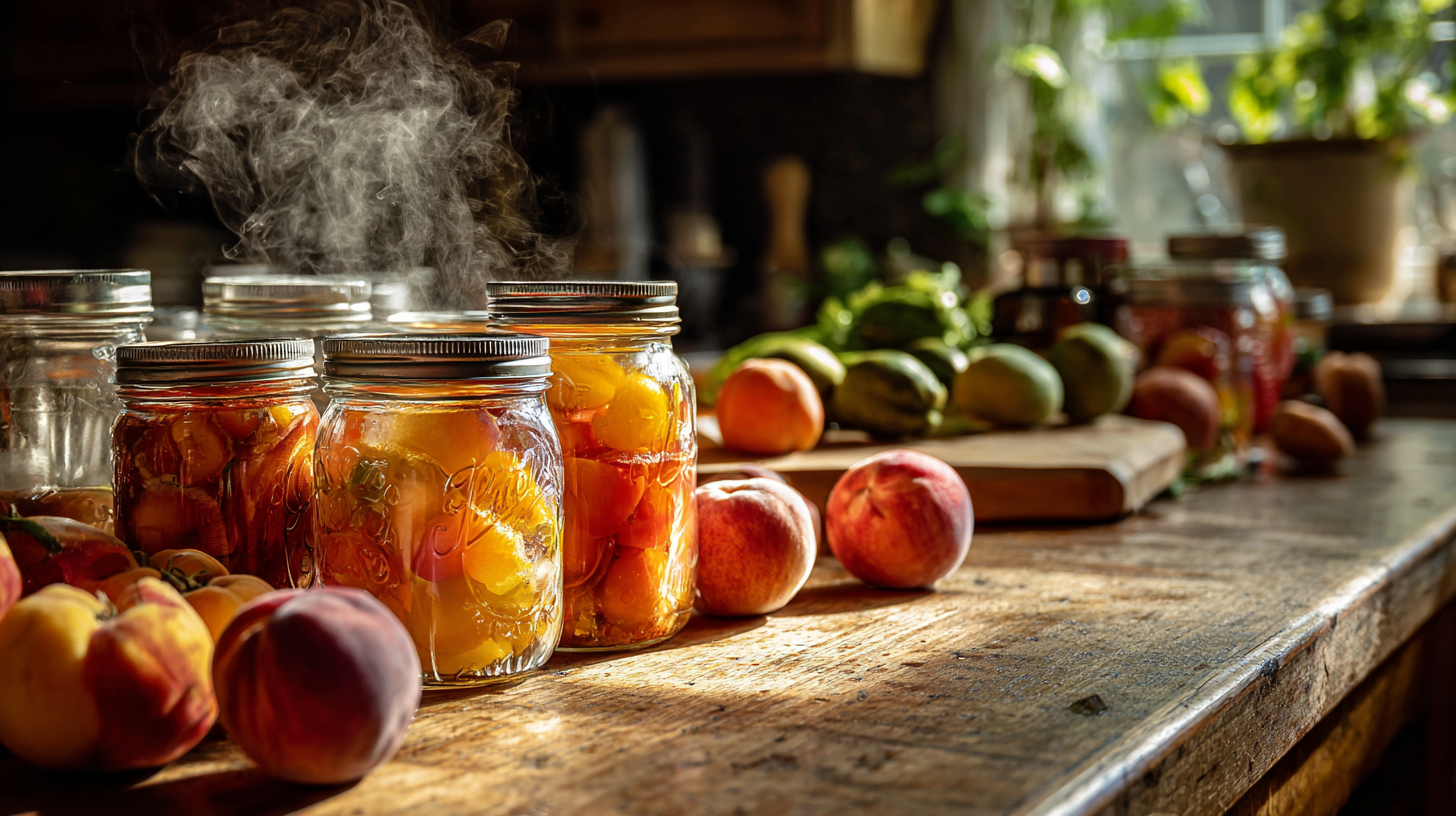
In today’s world, the ability to effectively preserve food without relying on electricity is an invaluable skill, particularly for those embracing self-sufficiency and off-grid living. Understanding various methods of food preservation offers not only a way to reduce reliance on modern conveniences but also a chance to connect deeply with traditional practices that have stood the test of time.
One of the most common ways to start preserving food without electricity is through canning. This method involves sealing food within jars and heating them to kill off bacteria, yeast, and mold. It’s essential to ensure that the jars and lids are sterilized properly and to follow proper canning guidelines to prevent spoilage. Resources such as the USDA’s Complete Guide to Home Canning provide valuable information on safe canning practices, ensuring high-quality results.
Another effective approach is dehydration, which removes moisture from food, inhibiting the growth of microorganisms. You can easily dehydrate fruits, vegetables, and even meats in a conventional oven set to low heat, or by simply using the sun’s natural energy if you live in a sunny climate. When drying foods, remember to store them in airtight containers in a cool, dark place to maintain their quality over time.
Fermenting foods not only preserves them but also enriches them with probiotics beneficial for gut health. Fermented vegetables, such as sauerkraut or kimchi, are straightforward to make and require only vegetables, salt, and a bit of patience. The process of fermentation introduces beneficial bacteria while enhancing the flavor and nutritional profile of the food.
Salting and brining are ancient techniques that can extend the shelf life of meats and vegetables. Salting involves rubbing food with salt to draw out moisture and create an inhospitable environment for spoilage organisms. Brining, on the other hand, uses a saltwater solution to enhance flavor and texture while preserving food. The balance between salt concentration and time is critical to achieving the desired results, so it is advisable to consult established recipes for specific guidance.
Cold storage solutions can be an excellent way to keep perishables fresh without electricity. Root cellaring is a time-tested method that utilizes the earth’s natural temperature regulation to store fruits and vegetables in a cool, dark, and humid environment. If you have access to a basement, cellar, or even a dedicated space in your home that maintains a stable cool temperature, this can serve as an ideal storage option.
Food preservation without electricity isn’t just a necessity in emergencies; it aligns with a lifestyle focused on sustainability and self-sufficiency. Embracing these techniques can not only help you save money but also provide a rewarding connection to the cycles of nature and the joys of homesteading.
Canning Techniques
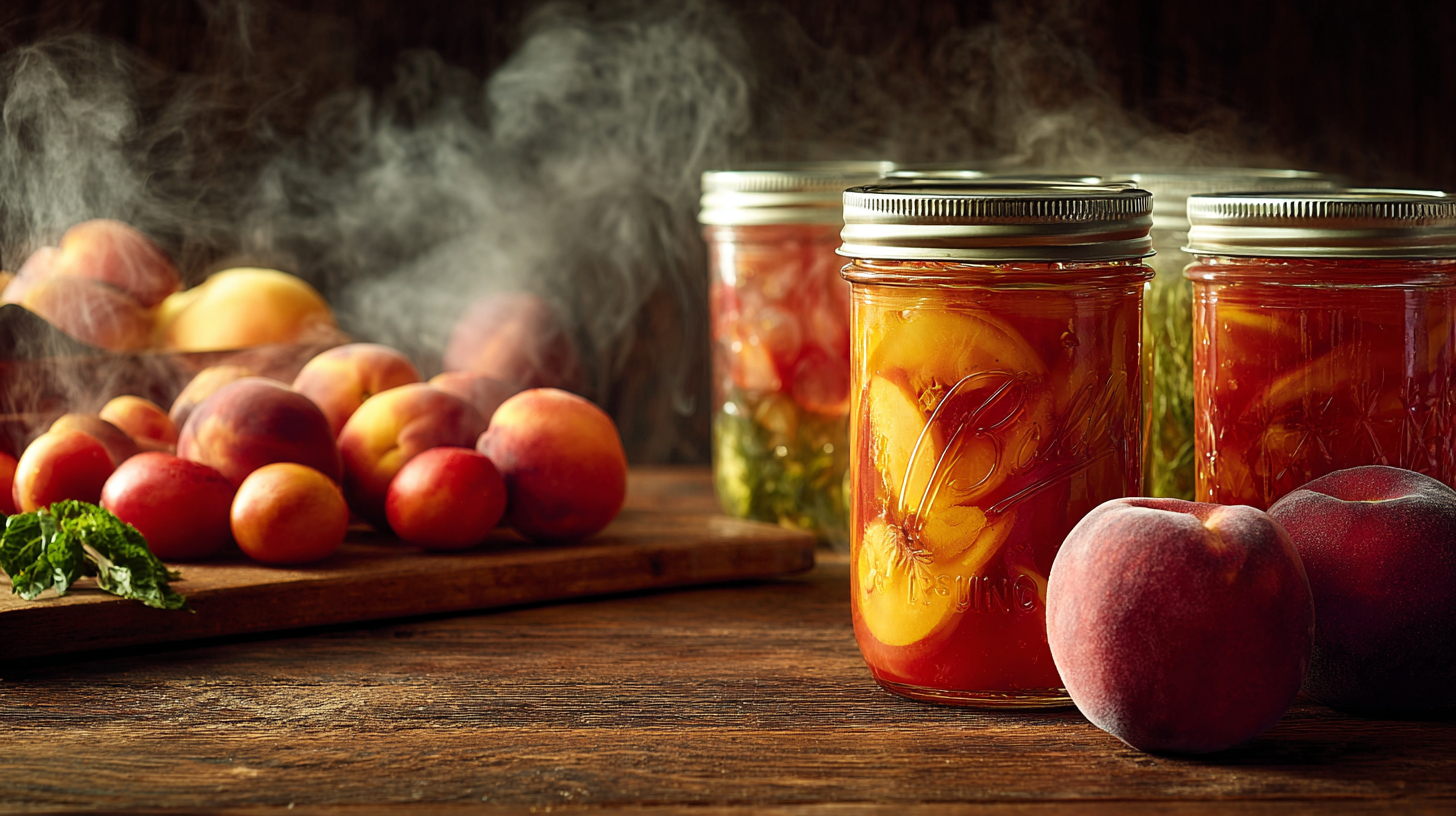
Canning is a method that allows individuals to store seasonal produce and preserve the bounty of their harvest. The essentials of canning include selecting the right jars, preparing the food, and ensuring that the sealing process creates a vacuum to prevent spoilage. The most recognized types of canning are water bath canning and pressure canning, each suitable for different types of foods.
Water bath canning is ideal for high-acid foods like fruits, tomatoes, pickles, and jams, whereas pressure canning is necessary for low-acid foods such as vegetables, meats, and poultry. The fundamental difference between these methods lies in the temperature at which the food is preserved. Water bath canning reaches a maximum temperature of 212°F (100°C), whereas pressure canning can achieve temperatures above 240°F (116°C), which are necessary for safely processing low-acid foods. Below is a comparison table of the two canning methods:
| Canning Method | Food Types | Processing Time | Equipment Needed |
|---|---|---|---|
| Water Bath Canning | High-acid foods (fruits, tomatoes, jams, pickles) | Typically 5-15 minutes | Large pot, canning rack, jars, lids |
| Pressure Canning | Low-acid foods (vegetables, meats, poultry) | Typically 20-90 minutes | Pressure canner, canning jars, lids |
Preparation for canning begins with gathering the necessary ingredients and equipment. Jars should be sterilized by submerging them in boiling water for several minutes, while lids must be warmed according to manufacturer instructions to ensure a proper seal. The next step involves preparing the food—this may include washing, peeling, and cutting the produce, as well as cooking recipes involving vinegar or sugar that contribute to overall preservation.
Once the food is prepared and filled into the jars, the sealing process begins. Each jar must be filled to a specific headspace, generally about ½ inch from the top, to allow for the food’s expansion and sealing pressure during processing. After filling, it’s crucial to wipe the rim of the jar clean with a damp cloth to remove any residue that could prevent a proper seal. Then, place the lids on the jars and screw on the metal rings, ensuring they are fingertip-tight but not overly tightened.
When placing the jars in the canner, it’s essential to avoid touching the jars’ sides and ensure they are not touching each other. The canning process must follow precise timing and temperature guidelines for safety; inadequate processing time can lead to spoilage and foodborne illness. After processing, allow the jars to cool undisturbed for 12-24 hours, and check the seals by pressing down in the center of the lid; it should not pop back, indicating a successful vacuum seal.
Proper storage after canning is also vital for long-term food preservation. Store sealed jars in a cool, dark place to protect them from light and heat, which can degrade both the food quality and the seal integrity over time. It’s advisable to label jars with the contents and date, allowing for easy tracking of shelf life, as home-canned foods typically retain their best quality for one to two years depending on the food type.
Mastering the technique of canning empowers individuals not only to preserve flavors and nutrition but also fosters a greater sense of self-sufficiency. By integrating canning into your food preservation repertoire, you become adept at managing food resources, minimizing waste, and enjoying the fruits of your labor seasonally throughout the year.
Dehydration Methods
Dehydration is a time-honored method of food preservation that capitalizes on the principle of moisture removal to inhibit the growth of spoilage-causing microorganisms. This technique is not only energy-efficient but also an approach that promotes self-sufficiency and sustainability.
To begin dehydrating food, start with fresh produce that is at peak ripeness. Fruits such as apples, peaches, apricots, and bananas are excellent candidates for dehydration, as are vegetables like tomatoes, zucchini, and bell peppers. For meats, lean cuts work best as they contain less fat, which can hinder the drying process. Prior to dehydration, it may be beneficial to slice your food into uniform pieces to ensure even drying.
There are several methods for dehydrating food, depending on your available resources. One popular method is using an electric food dehydrator, which allows for controlled temperatures and airflow, producing consistent results. However, for those pursuing an off-grid living lifestyle, natural sun drying can be an effective alternative. Just ensure that the weather is dry and sunny, and always bring the food indoors during the night to prevent moisture absorption. Additionally, an oven set to a low temperature can serve as a convenient tool for dehydration.
Before starting the dehydrating process, you should consider pretreating your fruits to preserve their color and flavor. This can be achieved by soaking them briefly in a solution of water and lemon juice or ascorbic acid. Both methods help prevent browning and maintain the vibrant appearance of your dehydrated fruits.
When using an electric dehydrator, arrange your food in a single layer on the trays, ensuring that there is adequate space for air circulation. Most fruits will take approximately six to eight hours to dehydrate fully, while vegetables may require eight to 12 hours. A good rule of thumb is that fruits should be leathery and pliable, while vegetables should be crisp and break easily.
If you’re using an oven, spread the prepared pieces on a baking sheet lined with parchment paper. Keep the temperature between 130°F and 160°F (55°C to 70°C). Regularly check the progress and rotate the trays if necessary to promote uniform drying.
Once your food has been successfully dehydrated, it’s important to store it properly to maintain its quality. Pack the dried food into airtight containers, vacuum-sealed bags, or canning jars. To further ensure against moisture contamination, you can include a small packet of food-safe desiccant. Store the containers in a cool, dark place, as exposure to light can degrade nutrients and flavors over time.
Dehydrated food can last for months to years when properly sealed and stored, making it a fantastic option for long-term food preservation. Versatile and nutritious, dehydrated fruits can be enjoyed as snacks, added to cereals or trail mixes, while vegetables can be rehydrated for soups, stews, or casseroles.
As you venture into the world of dehydration, always keep in mind the importance of labeling your containers with the date of dehydration and contents. This practice not only helps track freshness but also adds organization to your pantry. Embracing dehydration within your food preservation toolkit supports your journey toward self-sufficiency while enhancing the meals you prepare for yourself and your family.
Fermenting Foods
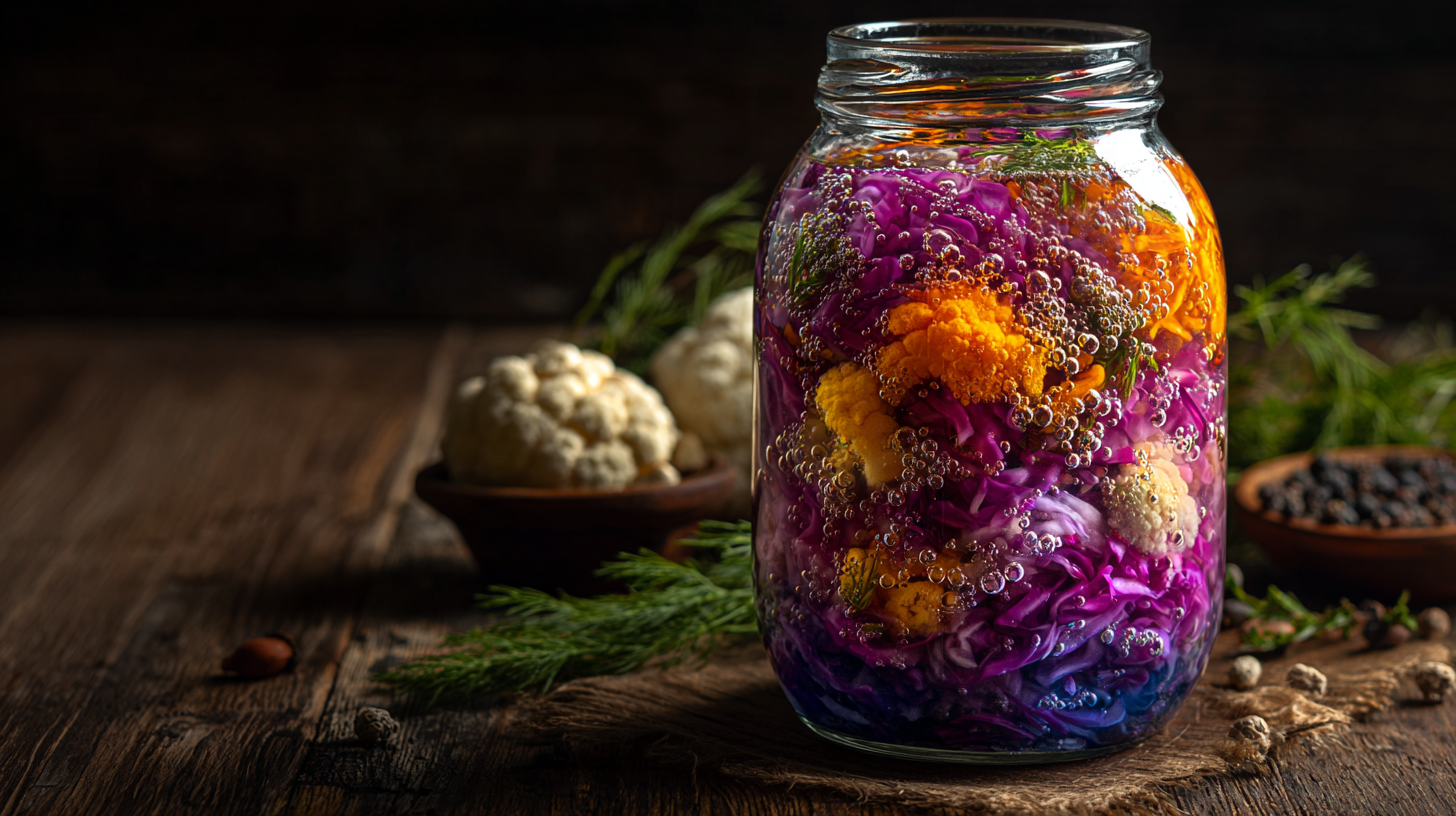
Fermenting foods harnesses the natural power of microorganisms to transform ordinary ingredients into richly flavored, shelf-stable products. This ancient method of food preservation enhances not only taste but also adds nutritional benefits, making it a cornerstone of self-sufficient living. The process relies on beneficial bacteria or yeasts, which thrive in anaerobic environments, turning sugars into lactic acid and thereby preserving the food while contributing to gut health.
To begin fermenting, select fresh, high-quality ingredients. Vegetables such as cabbage, carrots, and cucumbers are ideal for beginners. The process of making sauerkraut or kimchi begins with shredding or chopping the vegetables and then mixing them with salt. The salt draws out moisture, creating a brine that becomes the medium for fermentation. For sauerkraut, a simple mix of cabbage and salt is traditionally used, while kimchi might include additional ingredients like garlic, ginger, and chili paste to enhance the flavor profile.
Once the vegetables are prepared, they need to be packed tightly into a fermentation vessel, such as a glass jar or crock, leaving enough space at the top for the gases that will form during fermentation. It’s vital to ensure the vegetables are fully submerged in the brine to avoid exposure to air, which can lead to spoilage rather than fermentation. If needed, a weight can be placed on top of the vegetables to keep them submerged.
The fermentation environment is critical. Ideally, the jars should be kept in a cool, dark place with a consistent temperature, typically between 60°F and 75°F (15°C to 24°C). After about a week, it’s beneficial to check the fermenting food. Taste-testing is encouraged—this is a personal preference journey; some may prefer a milder flavor, while others might enjoy a stronger, tangy bite. Depending on the type of food and environmental factors, fermentation can take anywhere from a few days to a few weeks.
As fermentation progresses, bubbles will form, and you may notice a shift in aroma. The natural bubbling indicates that the fermentation is active. It’s essential to monitor the process, as high temperatures can lead to overly sour flavors or spoilage. If a white, frothy substance forms on the surface, it’s generally harmless and can be removed, though if the smell seems off or there are visible mold growths, it’s best to discard the batch.
Once the desired tanginess is achieved, the fermented products should be refrigerated to slow down the fermentation process and extend their shelf life. Properly fermented foods can last for months in the fridge and are rich in vitamins, minerals, and probiotics, contributing positively to a balanced diet.
“Fermented foods are a unique means of preservation that connects us to our ancient ancestors while fostering our health.”
Exploring fermentation not only diversifies your food preservation techniques but also encourages creativity in the kitchen. The vibrant colors and flavors of fermented foods can brighten up any meal, acting as a perfect accompaniment or a main dish component. Many cultures have their own takes on fermented foods, from the European tradition of sauerkraut to the Asian roots of kimchi, each offering a glimpse into the respective cultural heritage. Engaging in this practice cultivates a deeper understanding of food, sustainability, and resourcefulness, hallmarks of a self-sufficient lifestyle.
Salting and Brining
Salting and brining are time-honored methods that have been utilized for centuries to preserve food, especially meats and fish. By drawing out moisture through the use of salt, these techniques create an environment that is hostile to the growth of harmful bacteria and molds. Through careful control of salt concentration, you can intensify flavors while significantly extending the shelf life of your food, making it an essential skill for anyone pursuing self-sufficiency or off-grid living.
To begin the salting process, choose high-quality cuts of meat, as the fat content and quality directly impact the final product. Rub the meat generously with salt, ensuring to cover every inch. This method works best when using coarse salt, which is effective in drawing moisture out. Depending on the size of the meat cut, the curing time can vary from a few hours up to several days. The key is to place the salted meat in a cool, dark place, allowing the salt to interact intimately with the fibers to inhibit spoilage. Afterward, you can rinse off excess salt, pat it dry and store it in a cool environment or hang it to air dry further, enhancing its flavor and texture.
Brining involves soaking the food in a saltwater solution, enhancing not just preservation but also moisture retention, which helps improve tenderness and flavor. A basic brine can be created by dissolving salt in water, traditionally using about one cup of salt per gallon of water for meats. For those who wish to experiment, the addition of sugar, herbs, spices, and vinegar can create complex flavors that elevate the final dish. Place your item in the brine for a specified period, which can range from a few hours for poultry to several days for firmer cuts of meat, always ensuring it is fully submerged.
Once the brining is complete, the next step is to either cook, smoke, or dehydrate the brined product, sealing in its rich flavors while ensuring safety for consumption. This versatility allows the home preserver to create an array of dishes from one batch of preserved food, including your own homemade bacon, pickles, or corned beef. While it may take some practice to achieve the perfect balance of saltiness, the reward of home-preserved meats and vegetables far outweighs the initial challenges.
These preserving methods are not just about prolonging the life of food but embody a philosophy of resourcefulness. The ability to transform simple ingredients into flavorful staples encourages a creative and sustainable approach to cooking and food preparation. Encouraging a deep respect for the cycles of nature and food consumption, salting and brining empower individuals to make the most out of their produce and livestock.
- What foods can be preserved by salting and brining?
- Salting and brining are commonly used for meats, fish, and vegetables. Popular options include pork for making bacon, fish for pickling, and cucumbers for creating pickles.
- How long can salted or brined foods last?
- When done correctly, preserved foods can last from several months to over a year, depending on the type of food and storage conditions. It’s essential to monitor them for signs of spoilage.
- Should I refrigerate foods after salting or brining?
- Yes, after the initial preservation process is complete, storing your salted or brined foods in the refrigerator or a cool, dark place can help extend their shelf life and maintain quality.
- How do I know if the brining solution has the right salt concentration?
- The typical ratio is about one cup of salt per gallon of water for a standard brine. You can test the solution by adding an egg; if it floats, the salinity is enough for effective brining.
- Can I add spices or other flavorings to my brine?
- Absolutely! Adding herbs, spices, sugar, and even citrus peels to your brine can enhance flavor and create a more complex end product. Be sure to adjust the salt levels to maintain the preservation effectiveness.
- Are there any health risks associated with salting or brining foods?
- Yes, improper salting or brining can lead to foodborne illnesses. It’s crucial to follow safe practices, like using clean tools and following established recipes, to ensure that the food remains safe to eat.
- Can I use table salt for salting and brining?
- Yes, table salt can be used, but its fine granules may dissolve too quickly and might contain additives that could affect flavor. Coarse kosher salt or sea salt is often preferred for brining.
Cold Storage Solutions
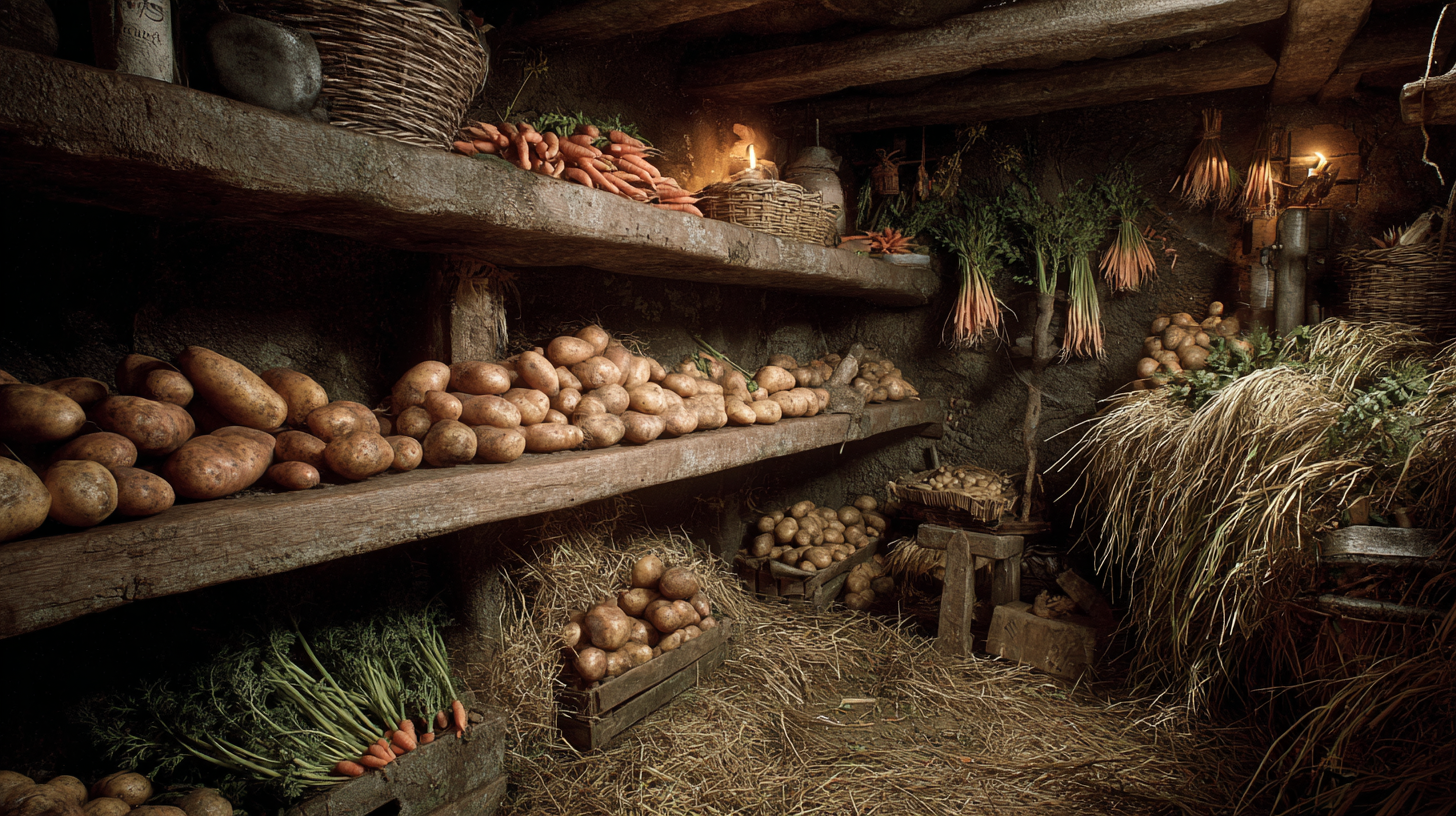
Cold storage solutions provide a fantastic way to preserve a variety of perishable foods without the need for electricity. Root cellaring is one of the oldest methods, capitalizing on the natural insulation and cool temperatures of the earth. This approach involves creating a designated storage space—often a cellar, basement, or specially built underground chamber—that maintains a stable temperature, typically between 32°F and 40°F (0°C to 4°C), and a humid environment which helps keep produce fresh for longer periods.
When setting up a root cellar, consider your local climate and the types of fruits and vegetables you plan to store. Vegetables like potatoes, carrots, turnips, and beets thrive in cool conditions, while fruits such as apples and pears can also benefit from this preservation method. To maximize the effectiveness of your cold storage, it’s essential to keep ethylene-producing fruits (like bananas and avocados) away from ethylene-sensitive vegetables (like leafy greens) to prevent premature spoilage.
To create your root cellar, seek a naturally cool area or construct a space below ground level where it remains insulated from the warmth above. Incorporate ventilation to maintain air circulation, which will help avoid any musty smells and prevent the growth of mold. It’s recommended to line the walls with straw bales or other insulating materials and install wooden shelves or bins for organized storage. Using breathable materials like burlap can also help your root vegetables prevent moisture accumulation while drying out excess soil.
When storing root vegetables, brush off any excess soil but do not wash them, as moisture can lead to spoilage. Place them in layers, separated with straw, sawdust, or shredded newspaper to allow for airflow and moisture control. Apples should be stored in a single layer, covered with a cloth to protect them from light, which can lead to ethylene production.
In addition to root cellars, cold storage methods can be adapted for urban dwellers and those with limited space. Utilizing cool basements or garages can be effective, as long as they maintain the right temperature and humidity levels during various seasons. For those living in warmer areas, a simple insulated cooler filled with ice packs can serve as a makeshift cold storage solution during the hottest months, helping to keep perishables fresh for weeks.
Regularly monitor your stored produce by checking for spoilage, soft spots, or signs of rot. Remove any affected foods to prevent them from impacting their neighbors. Understanding the unique needs of different produce is essential for optimizing the longevity of your stored food. For example, storing fresh herbs like basil requires a slightly different approach; placing them in jars with water in the refrigerator can keep them vibrant for longer.
Embracing these cold storage methods not only allows for effective food preservation but also aligns with a lifestyle focused on sustainability and self-sufficiency. By learning to utilize the natural cooling properties of the earth and your environment, you extend the freshness of seasonal produce, minimize waste, and foster a greater understanding of food storage’s historical significance in human survival.
Creative Uses of Natural Preservatives
Natural preservatives can be a game changer in your food preservation journey, allowing you to extend the life of fresh produce while enhancing flavors in delightful ways. These methods rely on ingredients found in nature, with the added benefit of being chemical-free, making them an integral part of a self-sufficiency lifestyle.
One common natural preservative is vinegar, specifically apple cider vinegar and white vinegar, which are excellent for pickling vegetables. The acidity in vinegar creates an environment that prevents the growth of harmful bacteria, thus ensuring the longevity of your food. You can create simple pickles by slicing cucumbers, carrots, or radishes, mixing them with vinegar, water, salt, and sugar, then sealing them in jars. Let them sit for at least 24 hours before enjoying—though the flavors will deepen the longer they sit. Moreover, pickling can be the perfect family project, sparking creativity in the kitchen and teaching children about food preservation.
Honey also serves as a natural preservative, known for its antimicrobial properties. Its high sugar content helps inhibit the growth of bacteria and yeast. You can preserve fruits by submerging them in honey, creating a delicious treat that pairs wonderfully with yogurt or on a charcuterie board. Try preserving summer berries by mixing them with honey and letting them steep for a few days. The result is an exquisitely sweet topping that enhances your favorite dishes while allowing you to enjoy seasonal fruits long after they’re out of season.
Salt, a time-honored preservative, works by drawing moisture out of foods, which prevents spoilage. While salting is often categorized with other preservation methods, you can enhance its effectiveness by combining it with spices and herbs. A simple technique involves covering vegetables in a mixture of salt and various seasoning blends before packing them into jars. Allow them to sit for some time, and they will create their own brine, perfect for enjoying healthy, flavored vegetables in salads or as quick sides.
For those looking to preserve food with zero added preservatives, consider citrus juice, like lemon or lime, which can prevent browning in fruits and vegetables. Just a splash of citrus can add brightness to your food while working as a natural preservative—great for salads or fruit salads that would otherwise brown quickly. Citrus zest is another versatile ingredient that can be infused in oils or dressings, extending their shelf-life and boosting flavor. Remember to keep the zest in the refrigerator in an airtight container for maximum freshness!
Herbs and spices themselves can act as natural preservatives, many possessing antimicrobial properties. For example, adding rosemary or thyme not only heightens the taste of your preserved food but also contributes to its longevity. You can create herb-infused oils or use them in marinades before canning or freezing meats. Always remember that the best preservative methods rely on high-quality herbs, ideally grown in your own herb garden, which ensures that you maintain control over your food quality even in an off-grid living setup.
Proper storage techniques play a crucial role in extending the life of preserved foods. Use airtight jars for your preserves and store them in a cool, dark place to keep them fresh longer. Always label your jars with the date of preservation to manage their shelf-life effectively. Embracing natural preservatives not only reduces your reliance on commercial options but also immerses you further into the gratifying journey of food preservation, enhancing your culinary endeavors as you cultivate a sustainable, self-sufficient lifestyle.