
Understanding the chemistry of soap making is crucial for anyone interested in achieving self-sufficiency through DIY methods. At the heart of this fascinating process is the reaction known as saponification, which occurs when fats or oils react with an alkali, typically sodium hydroxide (lye) or potassium hydroxide.
When you mix the alkali with a fat, it breaks down the triglycerides within the fat molecules, transforming them into soap and glycerin. This chemical reaction not only creates your desired cleansing product but also allows you to customize it in various ways, depending on the types of oils and additives you choose.
Here are key points to consider about the chemistry in soap making:
- Fats and Oils: Different fats yield different properties in your soap. For example, using coconut oil creates a soap with a rich lather, while olive oil results in a gentler, moisturizing bar.
- Saponification Value: Each oil has its own saponification value, a critical measurement that indicates how much lye is needed to react with a specific weight of oil. Using resources like soap calculators available online can ensure accurate measurements and successful batches.
- pH Levels: It’s essential to understand that finished soap should have a pH level of around 9 to 10, which is safe for skin use. This pH is achieved through the complete reaction of lye and fats, making proper measurements and saponification essential.
- Superfatting: This technique involves adding extra oils or fats beyond what is necessary for saponification, producing a more moisturizing soap. However, it requires careful calculation to avoid excess lye that might be hazardous.
One must be aware of the lye’s caustic nature; always wear protective gear, such as gloves and goggles, when handling it. Additionally, proper storage of lye is crucial to prevent accidental ingestion or exposure, especially if kids are involved in your homesteading activities.
By embracing the chemistry behind soap making, you empower yourself not just to create a usable product but to dive deeper into understanding how natural ingredients can benefit your family. This knowledge encourages experimentation and customization, all contributing to a fulfilling self-sufficient lifestyle.
Essential ingredients for soap
To embark on the journey of soap making, certain essential ingredients are required to achieve a satisfying and effective final product. The primary ingredients can be categorized into three main groups: fats and oils, lye, and any additives that enhance the soap’s qualities. Each ingredient plays a vital role in the saponification process as well as the overall characteristics of the soap.
Starting with fats and oils, these serve as the foundation for soap. Commonly used fats include:
| Fat/Oil | Properties | Usage |
|---|---|---|
| Coconut Oil | Creates a rich lather, cleanses well | High percentage for cleansing soaps |
| Olive Oil | Gentle, moisturizing, great for sensitive skin | Use for a conditioning bar |
| Palm Oil | Stable lather, helps harden soap | Often used in combination with other oils |
| Sweet Almond Oil | Moisturizing, nourishing for skin | Ideal for a luxurious feel |
These fats not only determine the soap’s cleansing ability and moisturizing properties but also its hardness and lather. Each oil has its unique saponification value, indicating how much lye is needed for the complete reaction.
The next essential ingredient is lye, specifically sodium hydroxide for solid soaps and potassium hydroxide for liquid soaps. It is crucial to handle lye with care due to its caustic nature. When combined with fats, lye initiates the saponification process, transforming the oils into soap. The ratio of lye to fats must be meticulously calculated based on the saponification values of the oils being used. Online soap calculators are invaluable for ensuring accurate ratios and achieving a successful outcome.
Additionally, customizing soap can be enhanced with various additives. These can include:
- Colorants: Natural colorants such as clays, herbs, or mica can add visual appeal.
- Fragrances: Essential oils can impart pleasing scents, while synthetic fragrances may be used for vibrant aromas.
- Exfoliants: Ingredients like oatmeal, crushed seeds, or coffee grounds provide texture and exfoliating properties.
- Botanicals: Dried flowers or herbs can add beauty and nutrients to the soap.
Careful consideration of these additives is important, as they can affect the saponification process, the soap’s overall quality, and its skin-contact tolerability. Always research how each additive interacts with your chosen base oils and lye to avoid incompatibilities.
As one delves deeper into the craft of DIY soap making, understanding the essential ingredients is foundational for creating tailored products that meet the specific needs of yourself and your family, thereby enhancing your journey towards self-sufficiency.
Tools and equipment needed
Before diving into the art of soap making, it’s essential to assemble a proper toolkit to ensure a smooth and safe process. While it may seem tempting to cut corners, having the right tools and equipment can make all the difference in your DIY soap making adventure.
Here’s a list of the vital tools and equipment needed to embark on your soap-making journey:
- Digital Scale: Accurate measurements are critical in soap making, especially when dealing with lye and oils. A digital scale ensures precision, helping you avoid miscalculations that could result in flawed batches.
- Heat-Resistant Containers: Choose glass or stainless steel for melting oils and mixing lye. Avoid plastic containers, as they can warp or react with lye. Make sure to have a separate container for lye to prevent any cross-contamination.
- Stick Blender: This handy tool is crucial for bringing your soap mixture to “trace,” the point where it thickens and can hold patterns. A whisk can suffice, but stick blenders make the process faster and more efficient.
- Thermometer: Monitor the temperature of your oils and lye, as they work best at specific temperatures. Simple candy thermometers or infrared thermometers can be very effective for this purpose.
- Soap Molds: Silicone molds are popular for their non-stick properties, making it easy to remove your soap once it’s set. You can also repurpose household items like cardboard boxes lined with freezer paper for a budget-friendly alternative.
- Safety Gear: Safety is paramount when working with lye. Always wear protective goggles, rubber gloves, and long sleeves to safeguard your skin and eyes from splashes.
- Measuring Spoons and Cups: While a scale is best for larger quantities, handy measuring utensils are excellent for smaller amounts of additives like scents and colorants.
- Stick Labels: Keep your soap organized and correctly labeled after curing to avoid confusion later. It’s also a great way to share your creations with friends!
Once you have your supplies in order, ensure that your workspace is clean and well-ventilated. Organizing your tools ahead of time can save you hassle during the soap-making process. It’s advisable to have a dedicated area that is free from distractions, especially when handling lye, given its caustic properties.
As with any DIY endeavor, a little preparation goes a long way. Invest time in understanding your tools, and you will find that the process of soap making becomes not only an enjoyable activity but also a significant step towards self-sufficiency. Happy crafting!
Step-by-step soap making process

To begin the soap-making process, it’s essential to prepare your workspace and gather all your measured ingredients. Start by ensuring your area is clean and well-ventilated, as working with lye requires extra precautions. Wearing your safety gear—goggles, gloves, and long sleeves—is critical for protection, as lye can cause serious burns if it comes into contact with the skin.
Next, measure your oils carefully using a digital scale for accuracy. In a heat-resistant container, melt solid oils like coconut or palm oil gently, either on the stove or in the microwave, until fully liquefied. Mix in any liquid oils at this stage to ensure a uniform blend. While the oils are melting, prepare your lye solution.
In a separate heat-resistant container, measure your lye accurately according to your calculated amount—it’s crucial to follow the saponification values for your specific oils. Slowly add the lye to water (never the other way around, as this can cause a violent reaction), stirring gently until it dissolves completely. The mixture will heat up significantly and release fumes, so work in a well-ventilated area. Allow the lye solution to cool to approximately 100-110°F, which is the ideal temperature range for combining with the oils.
Once your lye solution has cooled and the oils are melted and at a similar temperature, it’s time to combine them. Carefully pour the lye solution into the oils, using a stick blender to mix them thoroughly. Blend until you reach “trace”—the point where the mixture thickens and leaves a trail when drizzled over itself. This usually takes a few minutes, and patience is key at this stage.
If you’re customizing your soap with colorants, fragrances, or exfoliants, now is the time to add them. Blend again briefly to ensure an even distribution of all ingredients. You can also use this moment to pour the mixture into your chosen molds. Gently tap the molds on your work surface to remove any air bubbles trapped in the mixture.
After pouring, cover your molds with a towel or plastic wrap to retain heat. This helps the saponification process continue effectively. Allow the soap to sit undisturbed for 24 to 48 hours. During this time, it will harden and may require some patience; resist the temptation to peek too frequently, as this can interrupt the curing process.
Once the soap has set, carefully remove it from the molds. If it feels soft or spongy, allow it to cure for a little longer. Once fully removed, cut into bars if necessary, and place them on a rack in a cool, dry area. Curing typically takes four to six weeks; this allows the soap to fully saponify and dry out, producing a safe and long-lasting product.
“Making soap at home not only promotes self-sufficiency but also allows you to personalize your skincare products.”
This process of soap making requires attentiveness and a bit of practice, but with each batch, you’ll refine your skills and develop a deeper understanding of the chemistry behind it. Enjoy the rewarding experience of creating something practical and beautiful from scratch! Your journey toward self-sufficiency through DIY soap making has just begun.
Common challenges and troubleshooting
Throughout the soap-making journey, you may encounter several challenges that could test your patience and technique. Properly anticipating and troubleshooting these potential issues can lead to higher satisfaction with your final product. One common issue is achieving trace; if your mixture doesn’t thicken adequately, ensure you’re using a sufficient amount of stick blending and that your temperatures are appropriately aligned. Conversely, if you overshoot trace, you might end up with a thickened mess—keep your blender handy and blend slowly in case you need to adjust.
Another frequent hurdle is inaccurate ingredient measurements. Double-checking the saponification values of each oil and using a digital scale will help you avoid miscalculations. If your soap ends up too harsh, consider adjusting the percentage of lye or assessing the oils used. Keep an eye out for the dreaded “seizing” of soap, which can happen with certain fragrance oils. If this occurs, you may need to work quickly to incorporate additives or pour the mixture into molds.
Don’t overlook the importance of curing time. Rushing this phase can result in a softer bar that may not last as long. Instead, allow your soap sufficient time to fully saponify and dry to ensure a durable and safe product. If you find your soap has developed cracks or unsightly surface textures, these can often be remedied by adjusting temperatures during mixing or covering molds adequately to minimize drafts.
Handling and storing lye also presents a challenge. Ensure you are using safe practices and remember to label containers clearly. Safety supersedes all else in soap making; maintaining a clear workspace and being conscious of your surroundings will minimize risks involved. Consider running through a practice batch without additives to hone your technique before venturing into more intricate designs.
Soap making is an ever-evolving skill that encourages inventive problem-solving. By exploring solutions to common challenges, you’ll not only refine your craft but also augment your knowledge base, sowing the seeds for continued self-sufficiency. Immerse yourself in the learning process and let your experiences shape your approach to this fulfilling DIY endeavor.
- Can I use any type of oil for soap making?
- Not all oils are suitable for soap making. Each oil has unique properties and saponification values, so it’s essential to choose oils that complement each other for the best results.
- What should I do if my soap is too lye-heavy?
- If your soap has too much lye, do not use it on your skin. You might try to rebatch the soap by melting it down and adding additional fats to balance out the lye content.
- How long should I cure my soap?
- Typically, soap should cure for four to six weeks. This time allows excess water to evaporate and ensures that the saponification process completes, producing a safe product.
- Why is my soap sticky or soft after curing?
- Sticky or soft soap can arise from excess water used in the recipe or not allowing enough curing time. Ensure accurate measurements and give your soap sufficient time to fully harden.
- Can I use fragrance oils instead of essential oils?
- Yes, you can use fragrance oils for more vibrant scents, but be aware that some can cause soap to seize or affect the final texture. Always test a small batch first.
- Is there a way to ensure even color distribution in my soap?
- To achieve even color, thoroughly mix your colorants with a small amount of your soap base before adding them to the larger batch. This technique helps to avoid clumps and promotes uniformity.
- What do I do if my soap has a funny smell?
- A strange smell can indicate incomplete saponification or an incompatibility with additives. Consider starting fresh with better measurements and properly researched ingredients for your next batch.
Tips for customizing your soap
Customizing your soap allows you to infuse your personality and preferences into each bar, making your DIY crafting experience even more rewarding. There are numerous ways to put your unique stamp on your creations while still adhering to the basics of soap making.
One of the first areas to explore is the selection of oils. While you may start with a foundational recipe, experimenting with different combinations of oils can significantly change the texture, scent, and lather of your soap. Consider blending exotic oils such as avocado oil for its nourishing qualities or hemp oil for added moisturizing benefits. Each oil brings its own set of unique properties, so testing out variations can lead to delightful surprises.
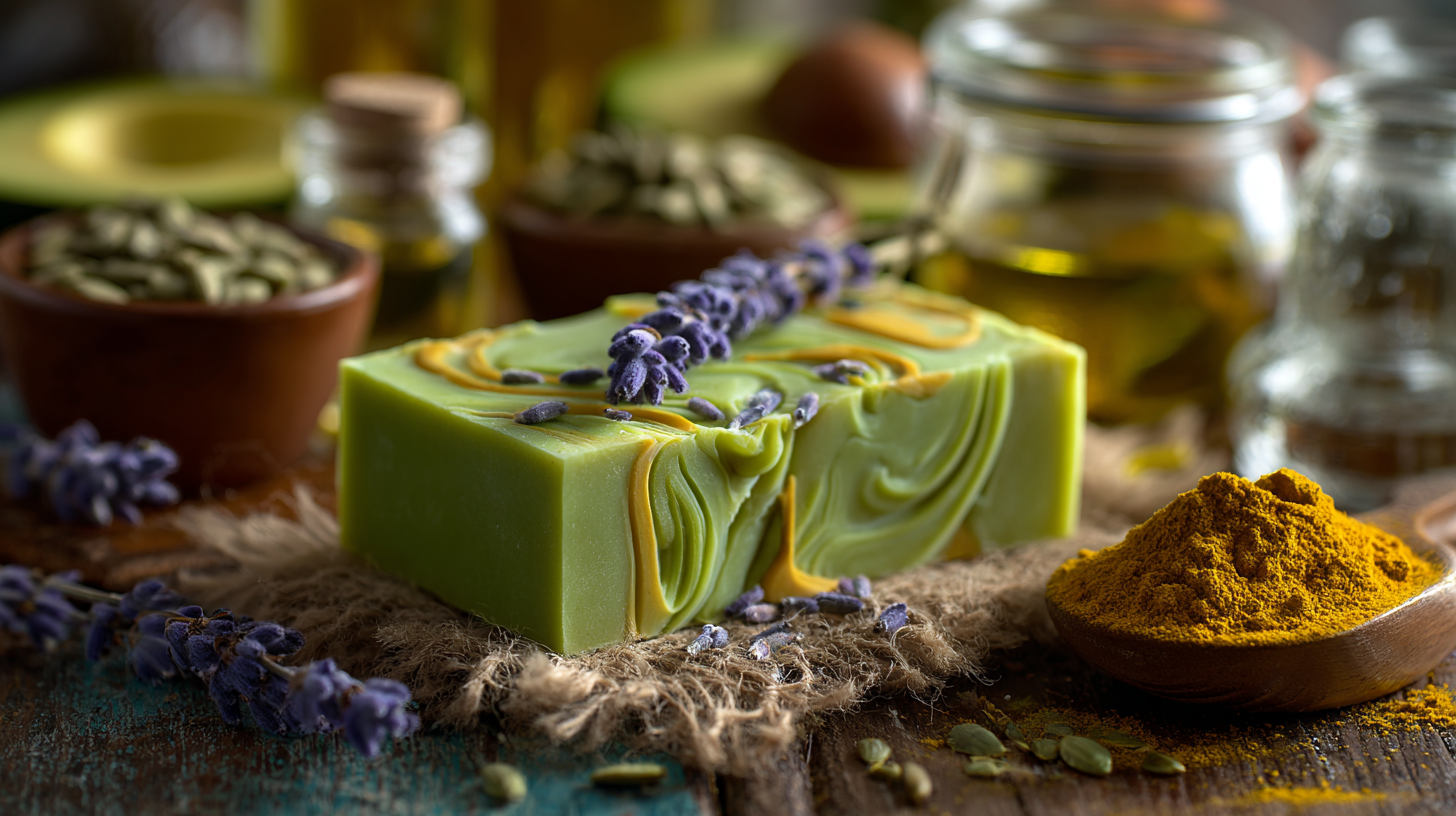
Next, let’s talk about colorants. Using natural colorants derived from clays, herbs, or spices can create visually stunning soaps while keeping them free of synthetic dyes. For example, adding spirulina powder yields a beautiful green hue, while turmeric imparts a lovely golden color. Remember to blend any colorants thoroughly to avoid uneven streaking, and test small amounts to gauge the final appearance.
Essential oils not only infuse delightful scents into your soap but may also provide therapeutic benefits. When choosing essential oils, opt for those known for their calming, invigorating, or antibacterial properties. Lavender essential oil, for instance, evokes relaxation, while tea tree oil can help combat acne-prone skin. Remember to adjust the amount based on the strength of the oil, noting that some oils, like cinnamon or peppermint, should be used sparingly as they can irritate the skin if overmixed.
Another fun way to customize your soap is by incorporating exfoliants. Ingredients like ground coffee, oats, or pumice can add delightful textures and sensory experiences when using your soap. Just be mindful of the size of these particles; coarser granules may irritate sensitive skin. Test different blends to achieve a balance between exfoliation and gentleness.
Additionally, consider adding natural botanicals such as dried flowers or herbs for aesthetic appeal and potential skin benefits. Dried lavender flowers or calendula petals can add a rustic flair while also providing properties that soothe the skin. Ensure these are added at the trace stage of soap making for optimal results.
Superfatting offers a way to create a more moisturizing bar. By adding an extra quantity of your chosen oils after the lye has been mixed in but before pouring, you can enhance the soap’s hydrating properties. This technique can lead to creamier, more luxurious bars but requires precise calculations to maintain the balance of lye and fats.
Finally, embrace your creativity with mold designs. While silicone molds are favored for their ease of use, you can explore layering colors or swirling techniques to create visually interesting patterns. Just remember that complex designs may require a more tempered blending technique to avoid the colors from sinking or blending unintentionally.
As you experiment with these customization techniques, document your processes in detail. This will help you recreate or alter your recipes for future soap making ventures. Engaging in the art of soap making nurtures not just creativity but also a deep sense of self-sufficiency, enabling you to bring a personal touch to your home and family. Happy customizing!