
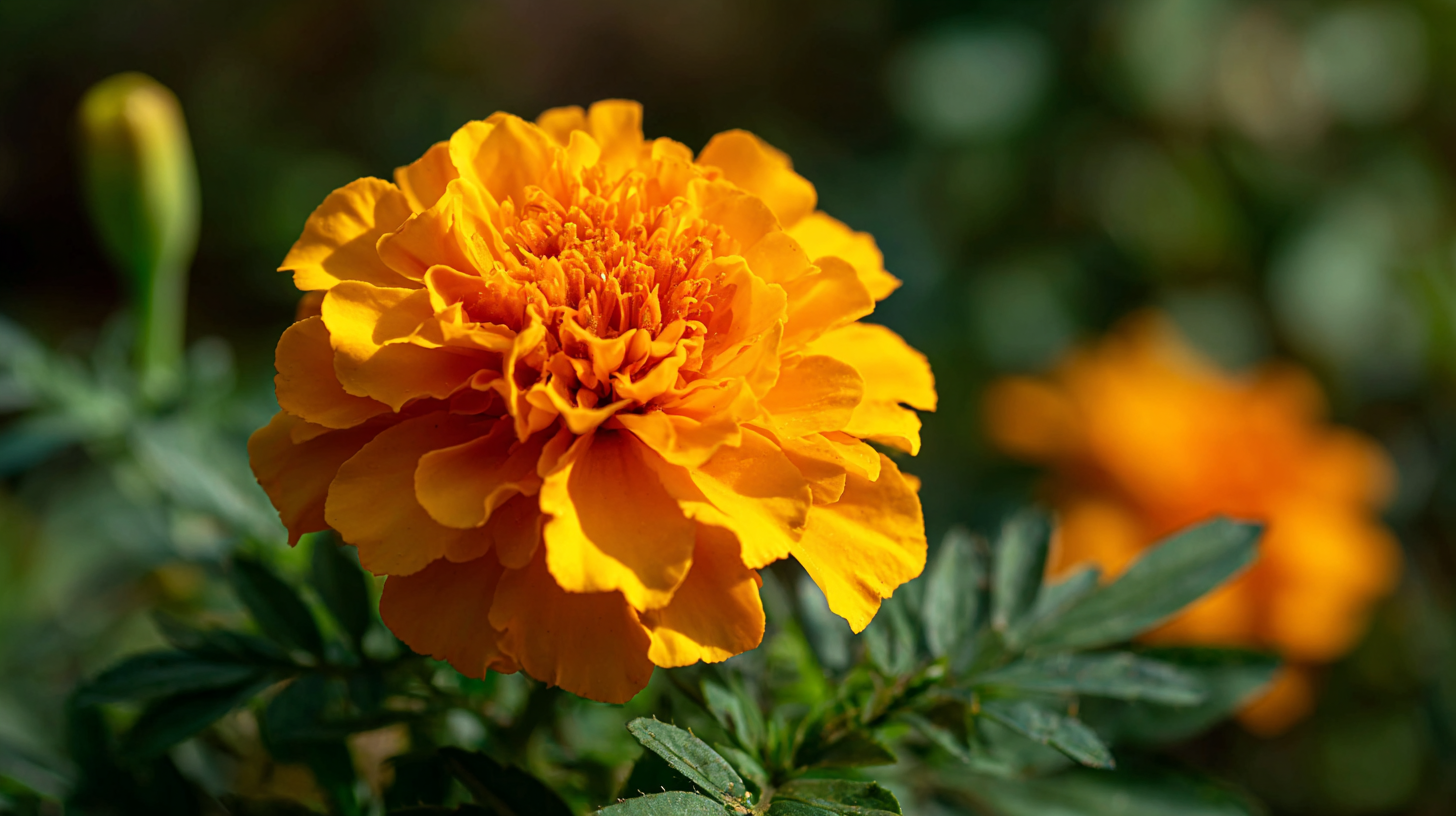
The world of natural dyes offers a vibrant palette drawn straight from nature, allowing crafters to embrace sustainable practices in their art. These dyes, made from plant materials, insects, and other natural sources, have been used for centuries, providing rich colors without the need for synthetic chemicals. This not only promotes self-sufficiency but also brings a unique character to your crafts.
Understanding how natural dyes work begins with acknowledging that the color comes from specific compounds found in various plants. For instance, the yellow hues can often be extracted from marigolds, while indigo plants contribute deep blues to your palette. It’s crucial to research and select plants that are suited to your climate and soil type, as well as those that yield colors you desire.
When gathering your natural dye sources, consider the parts of the plants you will be using: leaves, flowers, roots, or bark each yield different shades. Some plants may require a mordant—a substance that helps fix the dye to the fabric—to achieve bright and lasting colors. Common mordants include alum, copper, and iron, but be aware that different mordants can change the hue, so experimentation is key!
As you embark on this colorful journey, it’s essential to consider the factors that influence dye extraction. The age of the plant, the time of year when harvested, and the method of preparation can all affect the richness of color. Traditionally, the harvesting of dye plants occurs when their pigments are at their peak, typically in late summer or early fall. Proper drying and storage of your plants will maintain their dyeing potential for future use.
To start your very own natural dye garden, maximize your yields by considering companion planting strategies. Certain plants can enhance the growth and dye yield of one another when planted in proximity. For example, planting marigolds alongside indigo can not only create a visually stunning garden but also support the health of both species.
By understanding the science and art of natural dyeing, you not only cultivate a successful garden but also deepen your connection to the earth. Begin with a few easy plants to grow, and gradually expand your collection as you become more confident in your dyeing techniques. This approach will bolster your self-sufficiency by allowing you to create beautiful, eco-friendly crafts that tell a story rooted in nature.
Selecting suitable plants
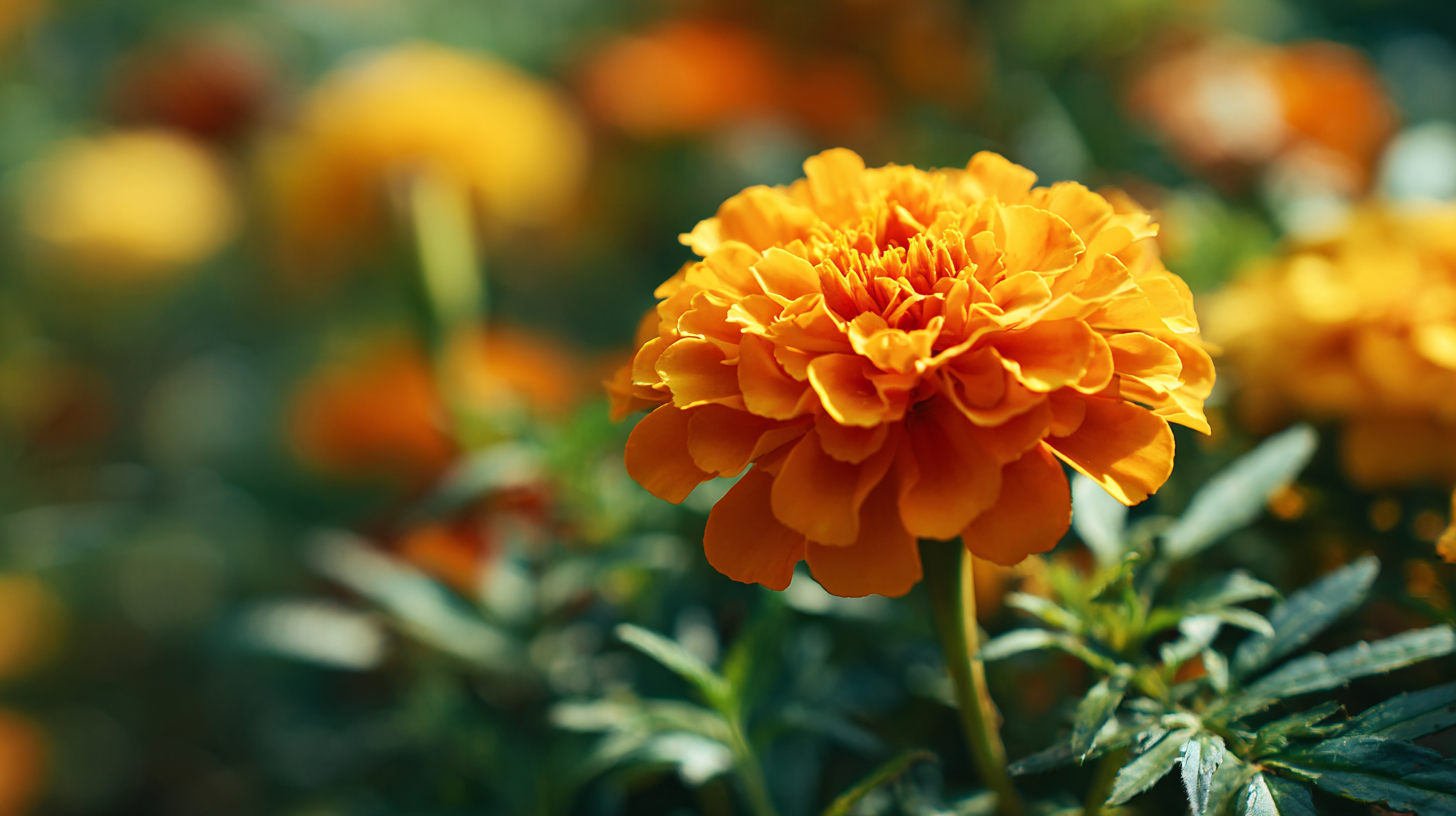
When selecting plants for your natural dye garden, consider both the aesthetic aspects of your garden and the practical functions of each plant. A diverse selection will not only contribute to your crafting needs but will also enhance the overall beauty of the space. Below is a comparison table that outlines some common plants used in natural dyeing, including their color yields and ideal growing conditions:
| Plant | Color Yield | Best Conditions | Part Used for Dye |
|---|---|---|---|
| Marigold | Yellow to Orange | Full sun, well-drained soil | Flowers |
| Indigo | Blue | Warm climate, moist soil | Leaves |
| Weld | Bright Yellow | Full sun, sandy soil | Leaves and Stems |
| Ironweed | Dark Purple to Brown | Full sun, dry conditions | Leaves |
| Turmeric | Golden Yellow | Partial shade, rich soil | Root |
| Avocado | Pink to Peach | Full sun, well-drained soil | Pits and skins |
| Sumac | Red | Well-drained soil, tolerant of drought | Berries |
Each of these plants contributes uniquely to your crafting palette, offering varied hues that can bring vibrancy and depth to your projects. It’s essential to match plant choices to the climate and soil of your garden to ensure optimal growth. For example, indigo thrives in warm, moist environments and should be planted in an area that receives ample sunlight, while weld prefers a drier, sandy soil.
In addition to considering growing conditions, evaluate the time required for each plant to mature and yield dye. Some plants, like marigold, can bloom quickly and provide harvestable flowers within a few months, making them ideal for beginner dyers aiming for immediate results. Others, like indigo, may require a season or more to produce sufficient leaves for dye extraction.
Also, think about the aesthetic appeal of your garden layout. Incorporating a variety of plant heights and colors can create a visually engaging space while also serving functional purposes. Companion planting, where compatible plants are grown next to each other, can boost yields and deter pests naturally, reinforcing your self-sufficiency goals by reducing the need for chemical interventions.
It’s crucial to keep in mind the sustainability aspect of your dye garden. Choosing perennials like sumac or certain varieties of indigo can lessen the effort involved in replanting each year and help maintain soil health. By selecting a range of plants suited to your garden’s conditions, you will cultivate a sustainable resource for natural dyes that supports both your creativity in crafts and your commitment to eco-friendly practices.
Preparing the soil
Preparing the soil for your natural dye garden is an essential step that lays the foundation for healthy, thriving plants. Well-prepared soil not only nourishes the plants but also allows them to produce vibrant colors for your crafts. Start by selecting an ideal location with ample sunlight, as most dye plants flourish in bright environments. Assess the soil quality; it should be well-drained and rich in organic matter. If your soil is heavy clay or overly sandy, consider amending it with compost or well-rotted manure to improve texture and fertility.
Testing your soil’s pH level is another critical aspect. Most dye plants prefer a slightly acidic to neutral range of 6.0 to 7.0. Kits for testing soil pH are readily available at garden centers or online. If the pH is too low, adding lime can help raise it, while sulfur can be used to lower a high pH. Maintaining the right pH helps ensure that your plants can absorb nutrients effectively, which is vital for producing rich, natural dyes.
Once you have assessed and amended your soil, it’s time to till or turn it over to aerate it. Breaking up compacted soil encourages root growth and increases the soil’s ability to retain moisture. As you till the soil, be mindful of mixing in organic material, which can boost soil health and provide essential nutrients. If possible, use a garden fork or tiller to thoroughly blend the amendments into the top 12 inches of soil.
Mulching after planting can also be beneficial. Applying a layer of organic mulch, like straw or wood chips, can help retain soil moisture, suppress weeds, and eventually decompose to enrich the soil further. Regularly replenish the mulch layer as it breaks down to continue supporting healthy soil life. Additionally, consider planting cover crops during the off-season to improve soil structure and prevent erosion.
In preparation for different dye plants, you may want to create specific beds tailored to their needs. For instance, indigo prefers a more moisture-retentive soil, while plants like weld thrive in drier conditions. Organizing your garden in this way can maximize the health and yield of your dye plants. Remember to water regularly, especially during dry spells, but be careful not to overwater; excess moisture may lead to root rot or fungal problems.
As you prepare your garden, involve children or family members in the process to instill the principles of gardening and self-sufficiency. Tasks such as digging, planting, and mulching can be enjoyable family activities that also teach valuable skills about caring for plants and understanding how soil health impacts the natural dyes you’ll eventually produce.
By investing time and care into preparing your soil, you set the stage for a successful natural dye garden that will yield beautiful, sustainable colors for all your crafting needs. Proper soil preparation not only enhances plant health and productivity but also reinforces your commitment to eco-friendly gardening practices.
Planting and caring for your garden
Once you have prepared the soil for your natural dye garden, the planting process begins, followed by attentive care that will help your plants thrive. Timing is key when it comes to planting. Typically, you should aim to plant your seeds or seedlings in spring after the last frost date, allowing them sufficient time to establish roots before the warmer months. If you’re starting from seeds, consult the specific needs of your chosen plants, as some may require pre-soaking or stratification to enhance germination.
When planting, follow the spacing recommendations specific to each plant variety to prevent overcrowding, which can lead to competition for nutrients and sunlight. For instance, indigo plants should be spaced adequately to encourage good air circulation, reducing the risk of fungal diseases. Additionally, regularly check for weeds and remove them as needed, as they can compete with your dye plants for resources.
As your dye garden grows, you’ll need to monitor its overall health closely. Regular watering is essential, particularly during dry spells, but you want to avoid waterlogged conditions that can harm roots. Employing efficient watering techniques, such as drip irrigation or soaker hoses, can help deliver moisture directly to the soil while minimizing waste. Observing your plants regularly will also help you catch any signs of distress, whether it’s pest infestations, nutrient deficiencies, or diseases. Early intervention is crucial for keeping your garden productive.
Fertilization plays a role in the health of your dye plants. Organic options like compost, fish emulsion, or seaweed extract can provide essential nutrients without the harshness of synthetic fertilizers, maintaining the integrity of your gardening methods. Apply these to the soil during the growing season, ideally just before flowering when your plants will benefit most from extra nutrients to support blooming.
As your plants mature, it’s important to think about maintenance tasks, such as pruning and deadheading. For instance, regularly removing spent flowers from marigolds can encourage more blooms, enhancing your dye yield. Additionally, supporting taller plants might be necessary to prevent them from bending or breaking in windy conditions, ensuring they remain healthy and productive.
“Good gardening is about using your hands, but it’s also about using your mind.” – Unknown
Pay attention to seasonal changes as well, adjusting care routines accordingly. In the fall, after harvesting, you may opt to cut back certain plants to the ground, preparing them for a robust return in the following season. This also helps to clear the garden of any diseased foliage that can affect next year’s crop. During winter, mulching can help protect the soil and organic material from erosion and freeze-thaw cycles.
By carefully planting and nurturing your natural dye garden, you’ll foster a rich ecosystem that rewards your efforts with vibrant colors for your crafts. This connection to your plants not only enhances your self-sufficiency but also deepens your appreciation of the cyclical nature of gardening and the artistry involved in producing natural dyes.
Harvesting and processing your dyestuffs
Harvesting your natural dyestuffs can be one of the most rewarding aspects of cultivating a dye garden. Timing plays a crucial role in determining when to gather your plants. Generally, the best moment to harvest for dye extraction is during the plants’ peak pigment production, which often occurs just before or during flowering. For example, marigolds should be picked when their flowers are fully open, while indigo leaves are at their most potent just before the plant begins to flower.
When harvesting, use sharp, clean scissors or shears to make neat cuts, reducing the risk of damaging your plants and allowing them to continue growing. Gather the parts of the plant that you’ll be using—leaves, flowers, or roots—depending on the desired colors. Be mindful to only take what you need, leaving enough for the plant to thrive or regenerate for further harvests later in the season. This practice not only promotes sustainability but also enhances your garden’s longevity, aligning with your self-sufficiency goals.
Once you have harvested your plants, it’s important to process them quickly to retain the quality of the pigments. Start by removing any debris, such as dirt or dead leaves. For most plant materials, you will want to bruise or chop them before extracting the pigments to facilitate the dyeing process. If you are working with roots, thoroughly wash them and peel if necessary, then chop them into smaller pieces to increase surface area. Some materials, like indigo, may require a fermentation process to unlock the color; for indigo, this often involves soaking the leaves in water and allowing them to ferment for a period.
Preparing your dyestuffs for extraction typically involves either boiling, simmering, or soaking, depending on the plant and the color you wish to achieve. For most flowers and leaves, simmering in water for at least an hour will help release the color pigments. Keep in mind the color will intensify more if you allow the mixture to steep over several hours or even overnight. Experimentation is key, as factors like temperature, time, and even the water type can influence the resulting hue.
After extracting the dye, strain out the plant materials, leaving you with a liquid that holds the concentrated color. This dye can be used immediately or stored for future use; just ensure it is properly sealed and kept in a cool, dark place to maintain its potency. Keep a record of your processes, noting which dyes produce specific colors on different fabrics—this will be invaluable as you expand your crafting knowledge and skills.
With each harvesting and processing session, not only do you gain practical experience in extracting vibrant natural dyes, but you also deepen your understanding of the relationship between gardening and dye production. Nature has an impressive way of providing endless opportunities for experimentation, and as you navigate this colorful journey, you’ll inevitably find joys in both the process and the products of your efforts.
- What plants can I use for natural dyes?
- Common plants include marigolds for yellow, indigo for blue, and weld for bright yellow. Each plant offers unique colors, so researching what works best for your crafting needs is essential.
- Do I need to use mordants for natural dyeing?
- Using mordants is often necessary to help fix the dye to the fabric, resulting in brighter and longer-lasting colors. Be sure to test different mordants, as they can also affect the final hue.
- When is the best time to harvest dye plants?
- Harvest at the peak of pigment production, typically just before or during flowering. This ensures you get the richest colors from your plants.
- How should I store harvested dye materials?
- Store your harvested materials in a cool, dry place, preferably in a sealed container to maintain potency. Some plant materials can also be dried for later use.
- What is the process for extracting dye from plants?
- The process usually involves simmering or boiling the plant material in water to release the pigments. The liquid should then be strained before use or storage.
- Can I create my own dye recipes?
- Absolutely! Experimenting with different plants, mordants, and techniques can lead to exciting new shades and effects. Keep notes on what works for future reference.
- Is natural dyeing safe for fabric?
- Yes, natural dyes are typically safe for fabrics made from natural fibers like cotton, linen, and wool. Always test on a small piece first to see how the fabric interacts with the dye.
Using natural dyes in crafts
Once you’ve harvested and prepared your dyestuffs, the fun really begins with using natural dyes in your crafts! This phase is where your creativity can truly shine, as you experiment with various techniques to apply these beautiful colors to your chosen materials.
Start by considering the type of fabric you want to dye. Natural fibers such as cotton, wool, or silk are ideal carriers for natural dyes since they absorb color more readily than synthetic fabrics. Always pre-wash your fabric to remove any finishes that might hinder dye absorption. A gentle wash with a mild soap will suffice, followed by thorough rinsing and drying.
Next, it’s important to prepare your fabric for dyeing. If you’re using a mordant, follow the specific instructions for that agent, as it can significantly affect the final shade. Typical mordants include alum for bright tones, iron for deeper colors, and copper for rich greenish hues. To mordant your fabric, dissolve the mordant in hot water, soak your fabric in the solution for about an hour, then rinse it well before placing it in the dye bath.
For the dyeing process, you’ll need to heat your extracted dye solution. This can be done in a pot on the stove, where you’ll warm the dye to a simmer but not boil it. Once it’s warmed, you can add your prepped fabric. Make sure the fabric is submerged completely, stirring gently to ensure even coverage. Depending on the type of plant used and the intended color depth, you may need to leave the fabric in the dye bath from 30 minutes up to several hours. Feel free to test the fabric periodically to check the color intensity; remember, the fabric will appear lighter once it dries.
If you’re aiming for varied shades, try dipping the fabric multiple times. Each dip can yield a different hue, enabling you to create gradients and unique patterns. For patterned effects, you can tie, fold, or clamp the fabric before dyeing to resist the dye in certain areas, a technique often called shibori.
After reaching the desired color, remove your fabric from the dye bath and rinse it under cool running water until the water runs clear. This will wash away any excess dye. Then, hang the fabric to dry away from direct sunlight to prevent fading. Once dry, you can iron it (on the lowest heat setting) to set the color, depending on the fabric type.
For those interested in robust storytelling through their crafts, consider combining dyeing with stitching techniques, such as visible mending or embroidery, which can enhance the handmade aesthetic while also showcasing the colors derived from your garden. By using natural dyes, you not only add a personal touch to your crafts but also bring a story of sustainability and self-sufficiency to every piece.
Engaging with natural dyes through crafting is not just about coloring materials—it’s a journey that connects you to the earth, to your garden, and to the creativity within. With each project, you’ll likely discover new preferences in colors and techniques, bringing forth endless opportunities to express your artistry!