
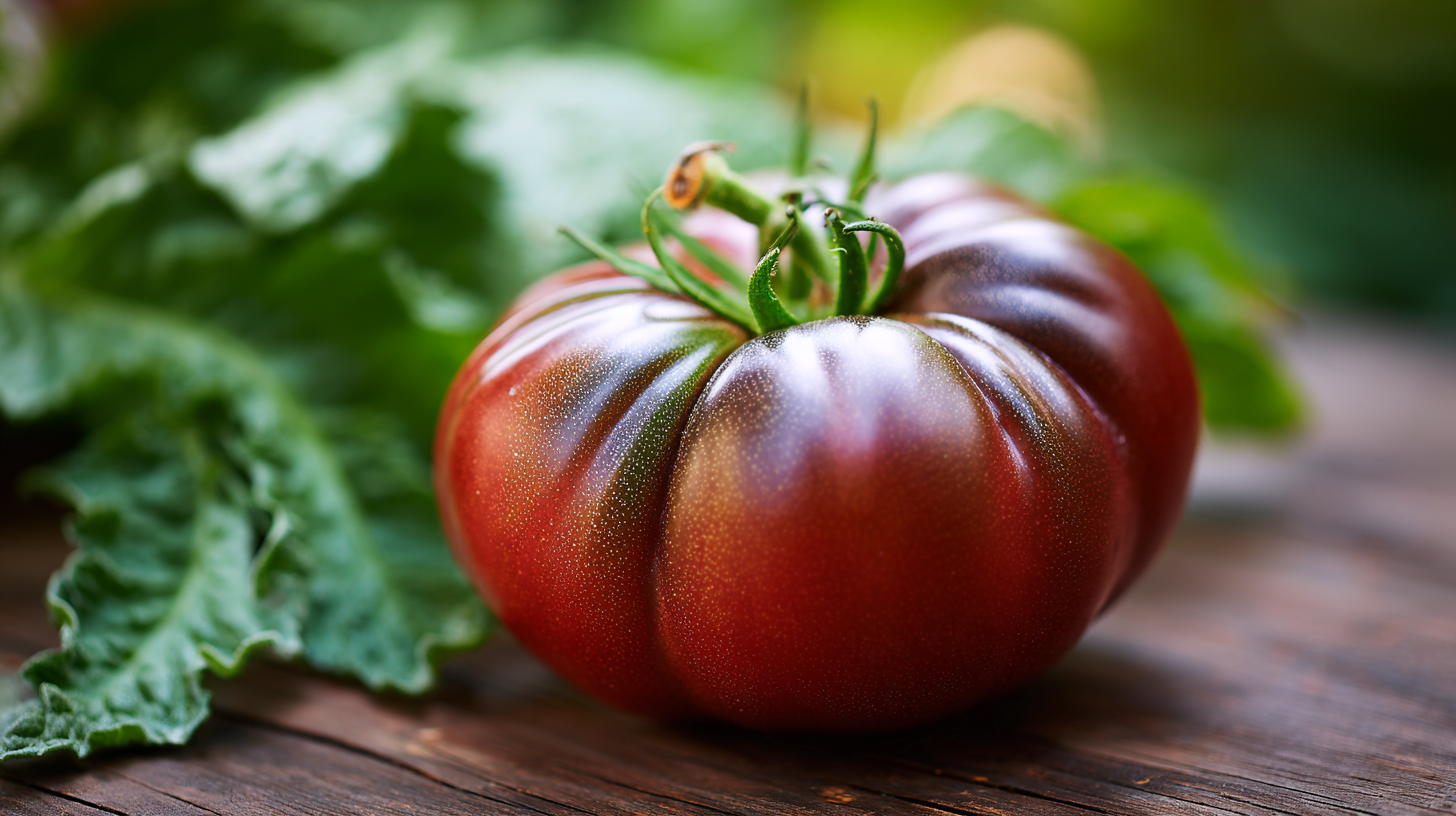
When it comes to preserving food, there are several methods to consider for fruits and vegetables, each with its unique benefits and applications. Understanding these techniques can greatly enhance your homesteading experience, allowing you to enjoy seasonal flavors year-round and contribute to your self-sufficiency.
One of the most popular methods is canning. This involves sealing vegetables and fruits in jars and heating them to destroy spoilage microorganisms. Here’s a basic rundown of the canning process:
- Preparation: Start by washing your jars and lids in hot, soapy water. Sterilize them by submerging in boiling water for 10 minutes.
- Filling: Pack your prepared produce into the jars, leaving appropriate headspace to allow for expansion during processing.
- Processing: Use a water bath canner for high-acid foods like tomatoes, or a pressure canner for low-acid foods to ensure safety.
- Cooling: Once processed, allow jars to cool undisturbed for 12-24 hours before checking seals.
Another effective method is freezing, which is ideal for preserving the texture and nutritional value of your produce. Here are a few tips:
- Blanching: Most vegetables benefit from blanching before freezing. This involves boiling them for a brief time and then plunging them into ice water to stop the cooking process.
- Airtight Packaging: Use freezer-safe bags or containers to prevent freezer burn, and label them with the date for easy identification.
Dried foods are also gaining popularity as a preservation method. Dehydrating removes moisture, which inhibits the growth of bacteria and molds. You can use a dehydrator or your oven on a low heat setting. Keywords to remember include:
- Slice Evenly: Ensuring uniform slices helps achieve consistent drying.
- Storage: Once dried, store in airtight containers in a cool, dark place to prolong shelf life.
No matter the preserving method you choose, always prioritize food safety to ensure that the nutrients and flavors of your homegrown produce are retained. Regularly check on your preserved goods for signs of spoilage, and enjoy the fruits of your labor!
Choosing Fresh Produce
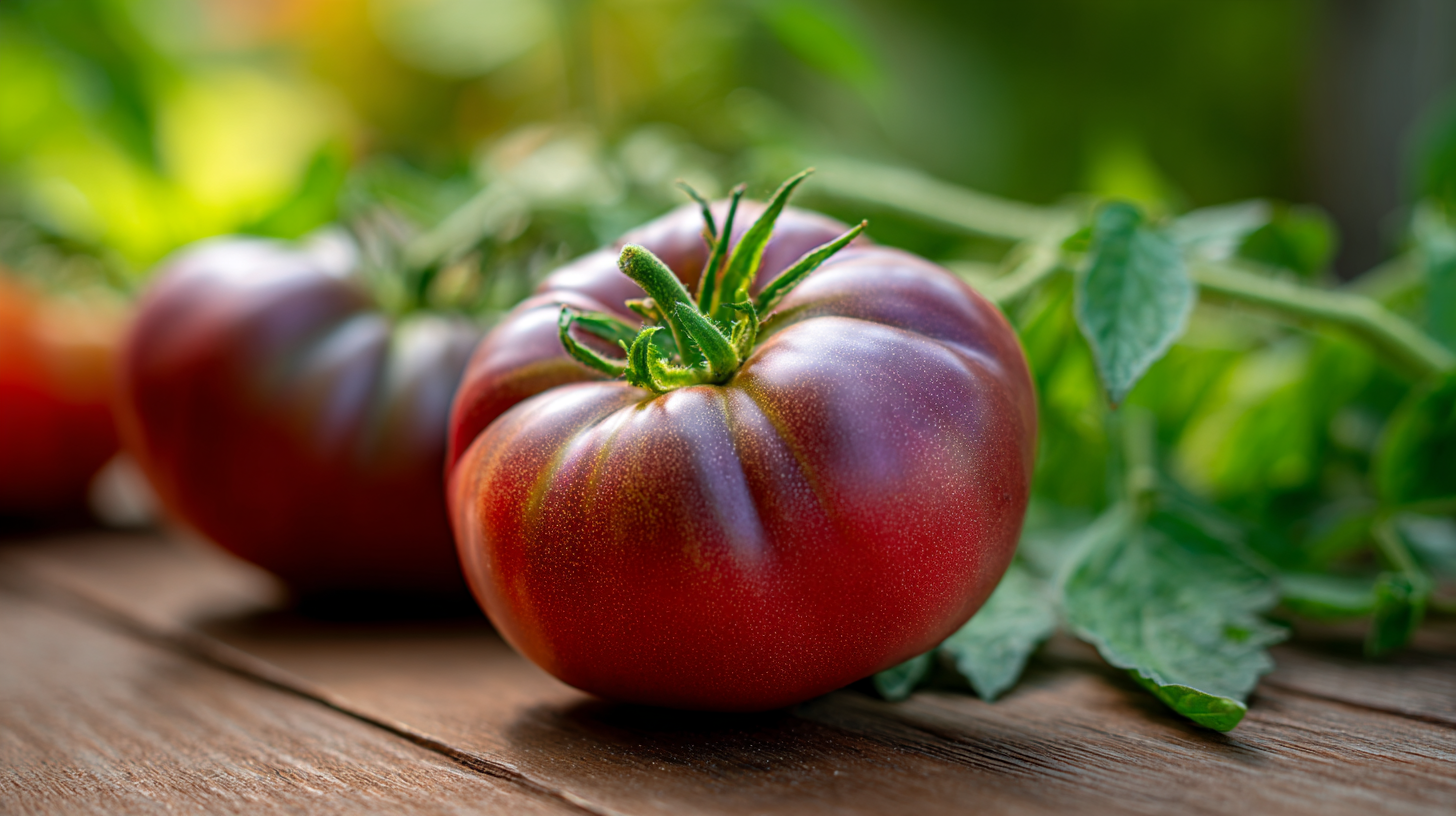
Choosing the right produce is a crucial step in the food preservation process, as the quality of the fruits and vegetables directly affects the results of canning, freezing, or drying. Selecting fresh, ripe, and seasonal ingredients ensures the best flavor, texture, and nutritional value in your preserved foods. Here are several factors to consider when selecting produce:
- Color and Texture: Vibrant colors often indicate peak ripeness and nutrient density. Look for firm, plump fruits and vegetables without blemishes or soft spots.
- Seasonality: Consuming seasonal produce not only enhances flavor but also supports local agriculture. Research what fruits and vegetables are in season in your region to find the freshest options.
- Organic vs. Conventional: While organic produce is often preferred for preservation due to the absence of pesticides, conventionally grown fruits and vegetables can also be safe and nutritious if thoroughly washed. Weigh your options based on availability and your personal preferences.
When purchasing produce, consider sourcing from local farmers’ markets or community-supported agriculture (CSA) initiatives to ensure freshness. Directly from the farm, these options typically provide fruits and vegetables picked at their peak. Additionally, it is essential to evaluate for any signs of ripeness or overripeness, particularly if you plan to preserve them immediately.
For your preservation projects, here is a comparative table to guide you in selecting fruits and vegetables based on their suitability for canning, freezing, or drying:
| Produce | Best Method of Preservation | Ripeness Indicator |
|---|---|---|
| Tomatoes | Canning, Freezing | Deep red color, firm to touch |
| Green Beans | Canning, Freezing | Bright green color, crisp texture |
| Apples | Canning, Freezing, Drying | Firm, smooth skin; varies by variety |
| Carrots | Canning, Freezing | Firm, smooth, deep orange color |
| Berries (e.g., strawberries, blueberries) | Canning, Freezing | Bright colors, sweet aroma |
It’s essential to remember that overripe or damaged produce can lead to spoilage during the preservation process. Consequently, assessing your produce before preservation is vital for maintaining food safety and achieving excellent results in your canning, freezing, or drying endeavors. Ultimately, selecting high-quality, fresh produce is a cornerstone for successful food preservation and is integral to your journey towards self-sufficiency.
Essential Equipment for Preservation
To embark on your journey of preserving food effectively, it’s crucial to have the right equipment at your disposal. While you can achieve some preservation techniques with basic kitchen tools, investing in dedicated preservation gear can enhance your experiences and outcomes significantly. Here’s a detailed look at the essential equipment you should consider.
Canning Equipment: If you choose canning as your method of preserving fruits and vegetables, the following items are indispensable:
- Canner: A pressure canner is necessary for low-acid foods like green beans and carrots, while a water bath canner suffices for high-acid foods such as tomatoes and pickles.
- Jars and Lids: Use mason jars that are specifically designed for canning. Always check for cracks and chips, and ensure that lids are new for a proper seal.
- Funnel: A wide-mouth funnel makes it easier to fill jars without spilling or contaminating the rims.
- Jar Lifter: This tool helps safely remove hot jars from the canner, protecting you from burns.
- Magnetic Lid Lifter: Essential for easily picking up lids from hot water without using your fingers.
Freezing Supplies: If freezing is your preservation method of choice, consider acquiring:
- Freezer Bags: Choose high-quality, freezer-safe bags that won’t tear easily and are designed to prevent freezer burn.
- Vacuum Sealer: This is a worthwhile investment as it removes air from bags and extends the shelf-life of frozen produce significantly.
- Containers: Use plastic or glass containers labeled for freezing. Ensure they are airtight to maintain maximum quality.
- Blanching Pot: A large pot to quickly blanch vegetables before freezing helps preserve texture and nutrition.
Dehydrating Tools: If you’re interested in drying fruits and vegetables, the right tools can make a difference:
- Food Dehydrator: An electric dehydrator offers temperature control and even drying, which is crucial for consistent results.
- Oven: If you don’t have a dehydrator, your conventional oven can work as well. Use it at a low temperature setting to dry out your items.
- Storage Jars: After drying, store your produce in glass jars or vacuum-sealed bags to minimize exposure to air and light.
Beyond equipment, ensure you have essential kitchen tools like knives, cutting boards, and mixing bowls readily available. Having a clean and organized workspace significantly enhances the efficiency of your preservation endeavors. Also, consider jotting down recipes and techniques that work best for your family—this can streamline your process in future seasons.
The right equipment not only makes preserving food more efficient but also enhances the quality of your finished product. With proper tools in hand, you can confidently dive into canning, freezing, or drying, thereby progressing towards greater self-sufficiency and utilizing your bounty in delicious ways throughout the year.
Tips for Safe Canning
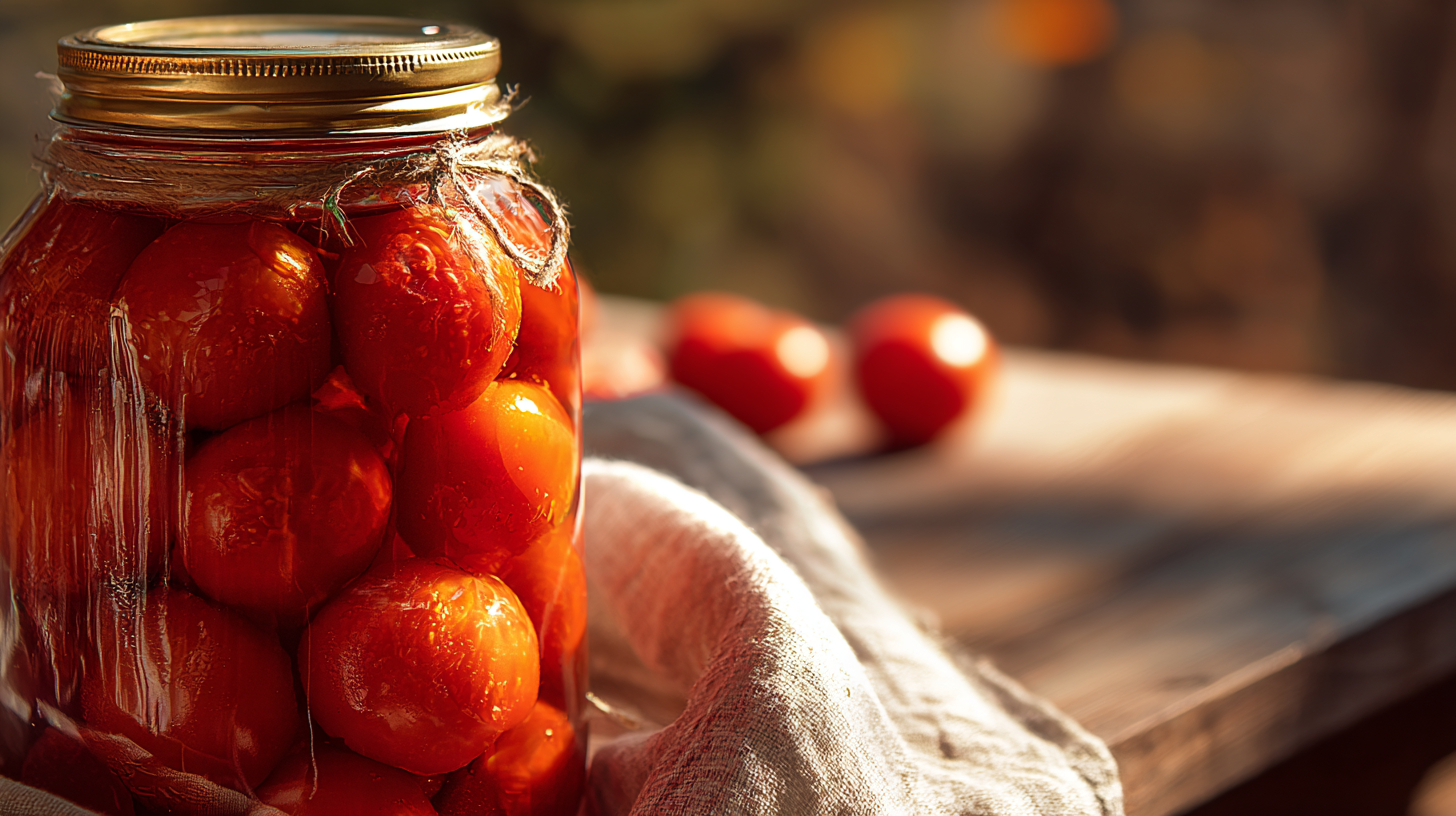
When it comes to safe canning, understanding the importance of following specific guidelines is essential to ensure the preservation of food while preventing spoilage and foodborne illnesses. Each step of the canning process is critical, from preparing your equipment and ingredients to sealing and storing your jars. Here are several vital tips for ensuring a safe canning experience.
First, always start with suitable recipes. Use tested and approved recipes from trusted sources such as the USDA or reputable canning guides. These recipes provide precise measurements and processing times designed to ensure that the acidity level is safe for canning. Avoid altering the acidity of recipes, particularly for low-acid foods, as improper acidity can lead to dangerous bacterial growth.
Next, ensure you have the proper equipment for your method of canning. If you are canning high-acid foods, a water bath canner is generally sufficient, but for low-acid foods like vegetables and meats, you must use a pressure canner. Pressure canners reach higher temperatures than boiling water can, which is necessary to effectively kill bacteria like Clostridium botulinum, which can be present in low-acid foods.
Another crucial aspect to consider is sterilization. Before filling your jars, make sure they are thoroughly washed and then sterilized. You can sterilize jars by submerging them in boiling water for 10 minutes. Also, keep your workspace clean to avoid contamination, as any bacteria or dirt can compromise the safety of your preserved foods.
Headspace is also an important factor. When filling jars, adhere to the recommended headspace in the recipe. This space allows for food expansion during processing and helps to create a proper seal. Too much headspace might result in food floating above the liquid, while too little can prevent a good seal.
After filling the jars, ensure that the rims are clean. Wipe the rim of each jar with a clean, damp cloth or paper towel to remove any food particles or moisture before placing the lid on top. This step is vital for achieving an airtight seal. Once the lid is in place, process the jars according to the guidelines of your recipe, accounting for altitude adjustments if necessary.
Once the processing time is complete, carefully remove the jars from the canner using a jar lifter and place them on a clean towel or cooling rack. Allow the jars to cool undisturbed for 12 to 24 hours before checking the seals. A proper seal will create a concave lid that doesn’t flex when pushed in the center.
“Safe canning is a method to preserve not just the food but the hard work and love you put into growing it.”
Lastly, label your jars with the contents and date before storage. Store canned goods in a cool, dark, and dry place to maintain optimal quality. Check your jars regularly for signs of spoilage, such as leaks, bulging lids, or unusual odors. If you detect any of these signs, do not consume the contents and dispose of the jars safely.
By following these tips for safe canning, you can help ensure your preserving food efforts are successful, leading to delicious and safe options to enjoy throughout the year. Prioritizing food safety not only protects your health but also contributes to a greater sense of self-sufficiency in the art of food preservation.
Freezing Techniques for Optimal Quality
To effectively preserve the quality of fruits and vegetables through freezing, it’s important to employ practices that maintain their taste, texture, and nutritional content. Freezing locks in the freshness of produce, allowing you to savor the flavors of each season long after harvest. Begin by washing, peeling, and chopping your fruits and veggies to prepare them for freezing. Each type of produce has its own unique characteristics that may require specific approaches to ensure optimal results.
Executing a proper blanching technique prior to freezing is paramount for most vegetables, as this process halts enzyme activity that can lead to loss of flavor, color, and texture. Blanching should be followed by plunging the vegetables into ice water to stop cooking immediately. This critical step preserves the bright colors and crispness, yielding a superior quality frozen product. For example, green beans should be blanched for three minutes before being cooled, while carrots may need up to five minutes depending on their size.
After blanching and cooling, the next step is to package your produce in airtight containers or freezer bags. Expelling as much air as possible from your packaging minimizes the risk of freezer burn, which can compromise the texture and quality of frozen goods. Label your packages with the date and contents before placing them in the freezer. Proper organization of your frozen items can help you rotate your stock, ensuring that you utilize your preserved foods effectively.
When it comes to fruits, you might not need to blanch them before freezing; however, a quick wash and cutting into appropriate sizes are necessary. If you desire to preserve the optimal quality of berries, for instance, spread them out in a single layer on a baking sheet to freeze individually before transferring them to bags. This method, often referred to as flash freezing, prevents the fruit from clumping together, making it easier to grab what you need later.
It’s crucial to pay attention to the freezing method you use, as the right technique can significantly impact the end result. For best practices, maintain the temperature of your freezer at 0°F (-18°C) or below. Invest in a quality freezer—preferably a chest freezer— that provides sufficient space and maintains a consistent temperature. This ensures that your efforts in preserving food yield delightful meals throughout the off-season.
Consider also the importance of first-in, first-out (FIFO) when managing your frozen inventory. Always use older frozen items before newer ones to maintain optimal quality and minimize waste. Reflecting on these techniques highlights how mastering the art of freezing not only enhances self-sufficiency in your culinary pursuits but also allows for the full enjoyment of the fresh produce you’ve nurtured throughout the growing season.
- What is the best way to freeze vegetables?
- The best way to freeze vegetables is to blanch them briefly in boiling water, then plunge them into ice water to stop the cooking process. Package them in airtight containers or freezer-safe bags, removing as much air as possible before sealing.
- Can I freeze fruits without blanching?
- Yes, most fruits can be frozen without blanching. It is advisable to wash, peel, and cut them into manageable sizes before freezing. Flash freezing them spread out on a baking sheet before bagging can help prevent clumping.
- How long can I keep frozen fruits and vegetables?
- Frozen fruits and vegetables can generally be kept for 8 to 12 months in the freezer. Over time, they may lose flavor and texture, so be sure to label containers with dates to keep track.
- What is freezer burn, and how can I prevent it?
- Freezer burn occurs when air comes into contact with the surface of frozen food, causing dehydration and oxidation. To prevent freezer burn, use airtight containers or vacuum-sealed bags, and remove as much air as possible before sealing.
- Do I need to thaw frozen vegetables before cooking them?
- It is not necessary to thaw frozen vegetables before cooking them. You can add frozen vegetables directly to soups, stews, and stir-fries, which maintains their texture and flavor.
- Is it safe to refreeze thawed fruits and vegetables?
- If fruits and vegetables have been thawed in the refrigerator and not allowed to reach room temperature, they can be safely refrozen. However, refreezing produce that has been thawed at room temperature may negatively impact quality and safety.
- What types of fruits and vegetables are best for freezing?
- The best candidates for freezing include berries, green beans, corn, peas, and broccoli. These vegetables and fruits tend to freeze well without significant loss in texture or flavor.
Storing Preserved Goods Effectively
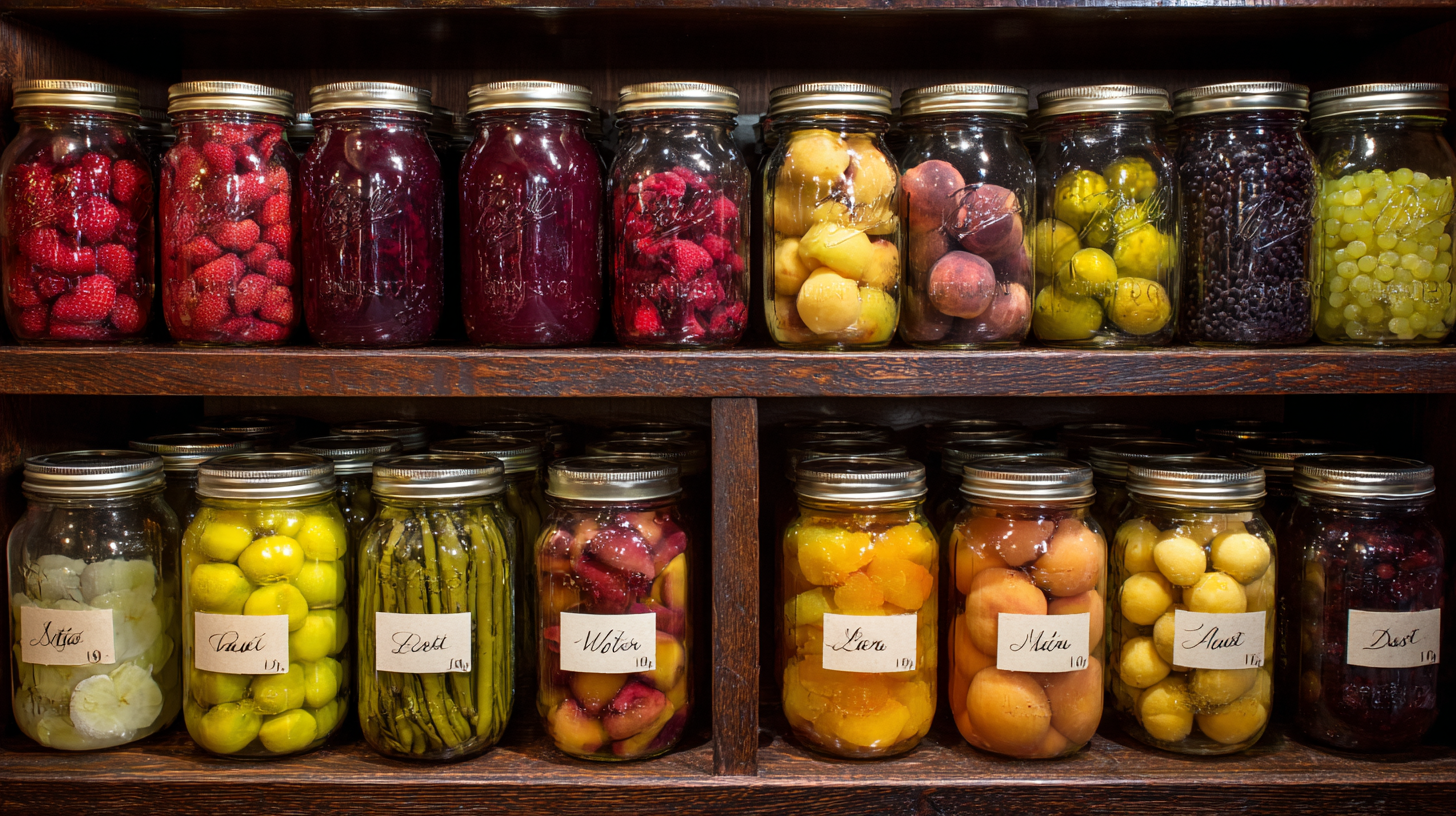
Once you’ve successfully preserved fruits and vegetables through canning, freezing, or drying, the next step is to focus on how to store these goods effectively. Proper storage plays a critical role in maintaining the quality, flavor, and safety of the preserved food, ensuring that you reap the benefits of your hard work throughout the year.
First and foremost, choose the right environment for storing your jars and frozen goods. For canned items, a cool, dark, and dry space is ideal. Consider utilizing a pantry or a dedicated shelving unit away from direct sunlight or heat sources, such as stoves or radiators. The temperature should be consistently lower than 70°F (21°C) to minimize fluctuations that could impact your preserves.
Additionally, ensure that your jars are stored upright to prevent leaks. Regularly inspect your canned goods for any signs of spoilage, such as bulging lids or a foul odor, and date each jar to keep track of freshness. Utilizing a simple labeling system will help you prioritize older jars first, supporting a routine of first-in, first-out (FIFO). This practice not only reduces food waste but also helps you enjoy your preserved bounty at the peak of its quality.
For frozen produce, the storage process also requires attention. Maintain a constant freezer temperature at 0°F (-18°C) or lower, and aim to use a chest freezer that offers more stability than a traditional refrigerator freezer. Make sure that your frozen items are organized, ideally in labeled bins or baskets, to streamline the process of finding just what you need. Avoid overpacking the freezer, as this can hinder proper airflow and impact the quality of your frozen goods.
Consider investing in vacuum sealing equipment to further protect your frozen foods. Vacuum-sealed bags can help eliminate excess air and optimize storage time, preventing freezer burn that can affect flavor and texture. Also, regularly rotate your frozen inventory to ensure that you make the most of your preserved produce without compromising its quality.
For dried goods, store them in a cool, dark place in airtight containers. Glass jars are an excellent choice for their ability to keep moisture at bay, while also allowing you to see what you have on hand. Keep them in a location that doesn’t experience extreme temperature changes, as fluctuations can lead to spoilage.
Lastly, always remember to educate the members of your household about storing and handling preserved food. Share best practices and encourage children to help with organization and labeling, creating an engaging learning experience rooted in self-sufficiency. By keeping everyone informed, you cultivate a shared appreciation for the effort put into preserving food and an understanding of its importance in your homesteading journey.
With careful storage and attention to detail, you can successfully extend the benefits of your preservation efforts, savoring the fruits of your labor long after the harvest season has passed.