
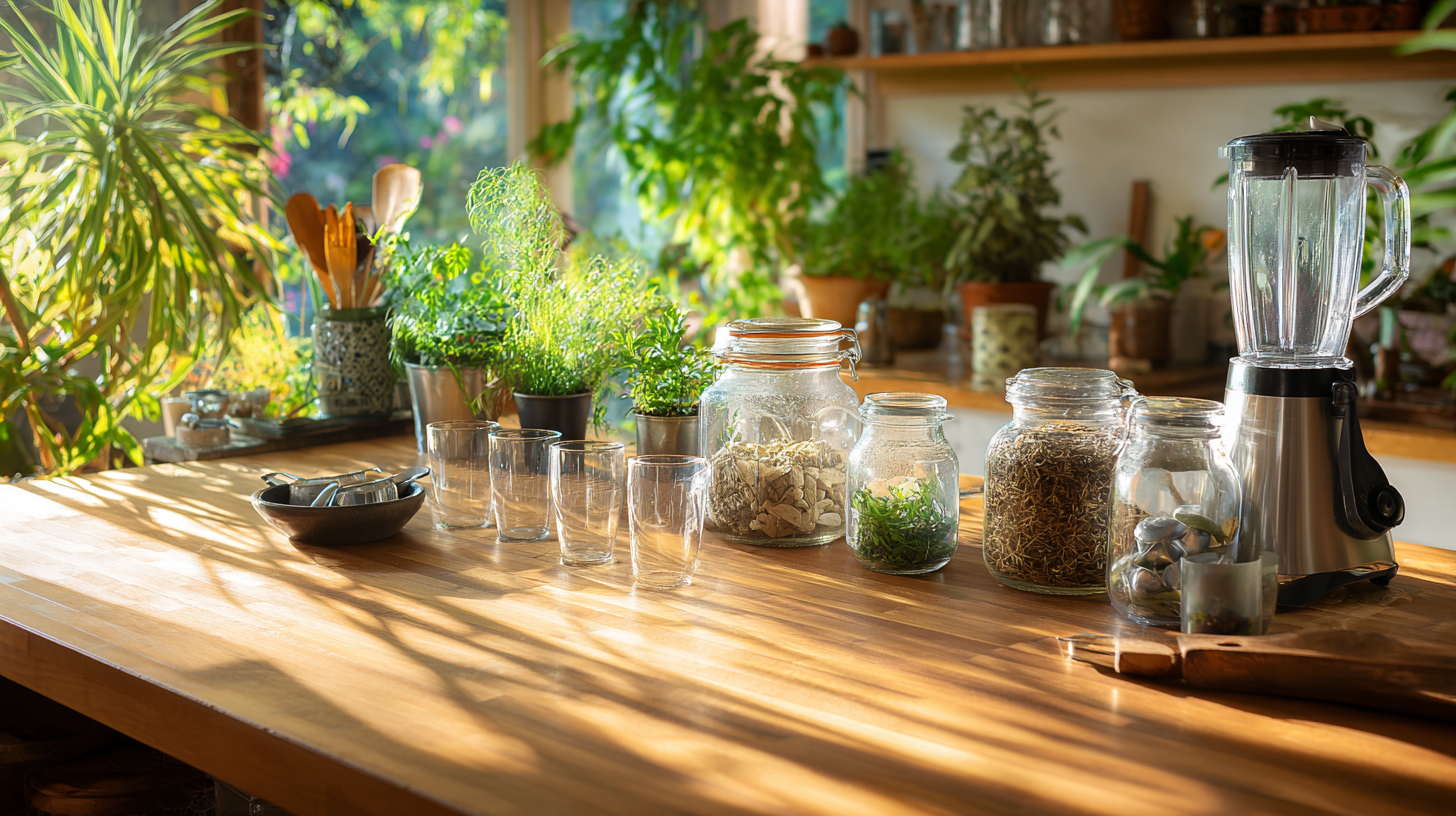
When venturing into the creation of natural beauty products, it’s crucial to begin with a comprehensive understanding of the ingredients you intend to use. Natural ingredients can vary greatly in their properties, benefits, and potential allergens. Familiarizing yourself with these elements not only enhances your DIY experience but also promotes self-sufficiency by empowering you to make informed choices.
One of the primary aspects to consider is the source of your ingredients. Opting for organic and non-toxic materials reduces your exposure to harmful chemicals that are prevalent in many commercial beauty products. For instance, consider using:
- Coconut oil – Renowned for its moisturizing properties, it’s perfect for dry skin and can serve as a carrier oil for essential oils.
- Shea butter – Known for its rich, creamy consistency, it provides deep hydration and can help soothe irritated skin.
- Essential oils – These not only impart delightful scents but also offer therapeutic benefits; lavender can calm and soothe, while tea tree oil possesses antimicrobial properties.
- Honey – A natural humectant, honey traps moisture in the skin and has natural antibacterial qualities.
- Aloe vera gel – Excellent for soothing sunburns or inflamed skin, it also hydrates without leaving an oily residue.
While selecting these ingredients, understanding their specific functions is key. For example, while olive oil may serve as a great moisturizer for some, individuals with acne-prone skin might prefer lighter oils such as jojoba or grapeseed oil. Moreover, it’s essential to recognize potential allergic reactions; performing a patch test on a small area of skin can help ensure safety before using a new product extensively.
Another important consideration is sustainability. Sourcing local ingredients not only supports local economies but also reduces your carbon footprint. Additionally, growing your own herbs or plants like lavender or calendula can provide ample, fresh materials for your creations.
Equip yourself with knowledge through reputable sources. Books about herbalism, online courses, or community workshops can deepen your understanding of natural ingredients, allowing you to experiment with confidence in your formulations. Embracing this journey of creating natural beauty products at home paves the way to greater self-sufficiency, allowing you to craft custom, safe, and effective products tailored to your unique needs.
Essential tools for crafting beauty products
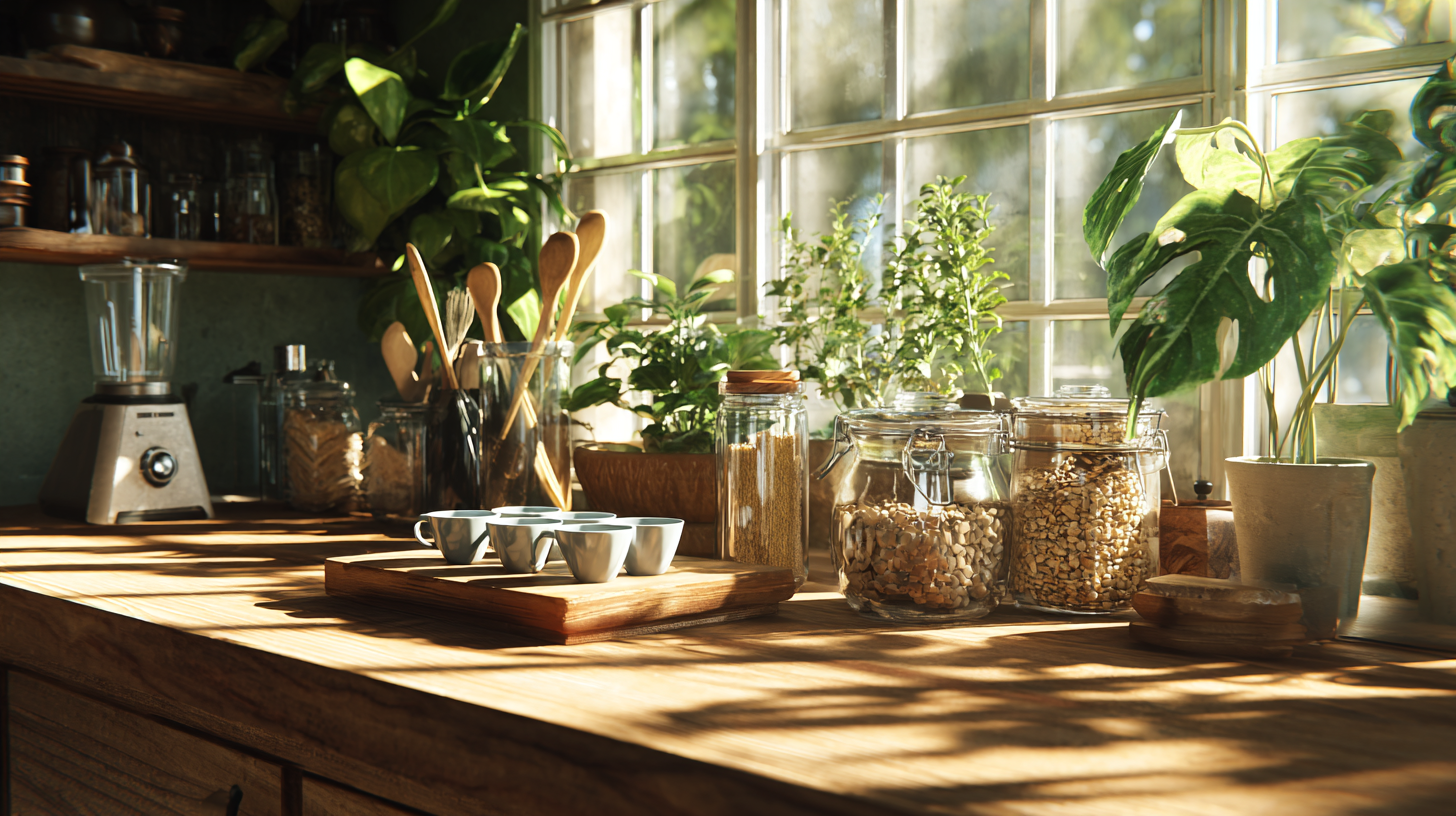
To successfully craft your own natural beauty products, having the right tools is essential. These not only streamline the process but also ensure precision in measurements and mixing, which can significantly impact the quality of your final product. Investing in the right tools can enhance your DIY experience, making it more enjoyable and efficient.
Essential Tools: Below is a list of must-have tools that will aid you in the creation of various beauty products:
| Tool | Purpose |
|---|---|
| Measuring spoons and cups | For accurate measurements of liquids and powders, ensuring the right balance of ingredients. |
| Mixing bowls | To combine ingredients thoroughly without any risk of contamination. |
| Double boiler | Ideal for melting waxes and butters gently, preventing scorching. |
| Hand blender or whisk | To emulsify oils and water-based ingredients, resulting in a smooth and consistent texture. |
| Dropper or pipette | For precise measurement and addition of essential oils and other concentrated liquids. |
| Glass jars and bottles | For storing finished products. Glass is preferred due to its non-reactive properties. |
| Labels and markers | To clearly mark the contents and date of creation, which aids in keeping track of your DIY projects. |
Using these tools will not only make the process more organized but also contribute to the overall quality of your natural beauty products. Proper equipment allows for better storage options, ensuring that your creations maintain their freshness and effectiveness over time.
In addition to standard tools, consider the following specialized items based on your projects:
- pH tester strips – Useful for determining the acidity or alkalinity of your products, which is particularly important for formulations like cleansers and toners.
- Kitchen scale – For precise measurements, particularly when working with small quantities of powders or essential oils.
- Strainer or cheesecloth – Especially helpful when infusing oils with herbs, allowing you to separate the plant material from the oil effectively.
By ensuring that you have the right tools at your disposal, you’re setting yourself up for success and fostering self-sufficiency in creating high-quality, natural beauty products. Each session becomes not just a task but an enjoyable journey of exploration and creativity in the realm of DIY beauty care.
Step-by-step recipes for skincare
Creating your own skincare products not only fosters creativity but also leads to greater self-sufficiency, allowing you to customize solutions for your skin’s unique needs. Here’s a collection of simple, step-by-step recipes that highlight the use of natural ingredients, ensuring your creations are both effective and delightful to use.
1. Coconut Oil Scrub:
This invigorating scrub exfoliates and hydrates the skin, leaving it soft and glowing.
- Ingredients: 1 cup coconut oil, 1 cup granulated sugar or sea salt, and 10 drops of essential oil (like lavender or peppermint).
Instructions:
- In a mixing bowl, soften the coconut oil by letting it sit at room temperature or gently warming until just melted.
- Add the sugar or salt and mix until well combined.
- Incorporate the essential oil, stirring well.
- Transfer the mixture to a clean glass jar with a lid.
- To use, apply to damp skin, massage in circular motions, then rinse with warm water.
2. Nourishing Face Mask:
This mask harnesses the power of honey and yogurt for deep nourishment and hydration.
- Ingredients: 2 tablespoons raw honey, 2 tablespoons plain yogurt, and 1 teaspoon lemon juice (optional).
Instructions:
- In a small bowl, mix the honey and yogurt until smooth.
- If desired, add lemon juice for an astringent effect but proceed cautiously if you have sensitive skin.
- Apply an even layer to clean skin and let it sit for 15-20 minutes.
- Rinse off with warm water and pat dry.
3. Herbal Infused Oil:
Perfect for incorporating into other products or using as a moisturizer.
- Ingredients: 2 cups carrier oil (like olive or jojoba), 1 cup dried herbs (such as calendula or chamomile).
Instructions:
- In a double boiler, combine the carrier oil and dried herbs.
- Heat gently for 2-3 hours, ensuring the oil doesn’t exceed 120°F (49°C) to maintain the integrity of the herbs.
- Strain through cheesecloth into a clean glass jar, discarding the herbs.
These recipes are not only straightforward but also allow for personal experimentation. Adjust the measurements according to your preference or skin type. Keep in mind, if you’re using essential oils, it’s crucial to perform a patch test to prevent allergic reactions.
Additionally, consider using your homemade creations as gifts. Fill small jars with your scrubs or masks, label them, and enjoy sharing the benefits of your DIY expertise with friends and family.
Not only do these recipes encourage a sustainable approach to beauty, but they also enhance your skills in crafting natural beauty products at home. Always remember to document your creations and note any ingredients that work particularly well for your skin. This will help in refining future batches and perfecting your craft!
Tips for storage and preservation
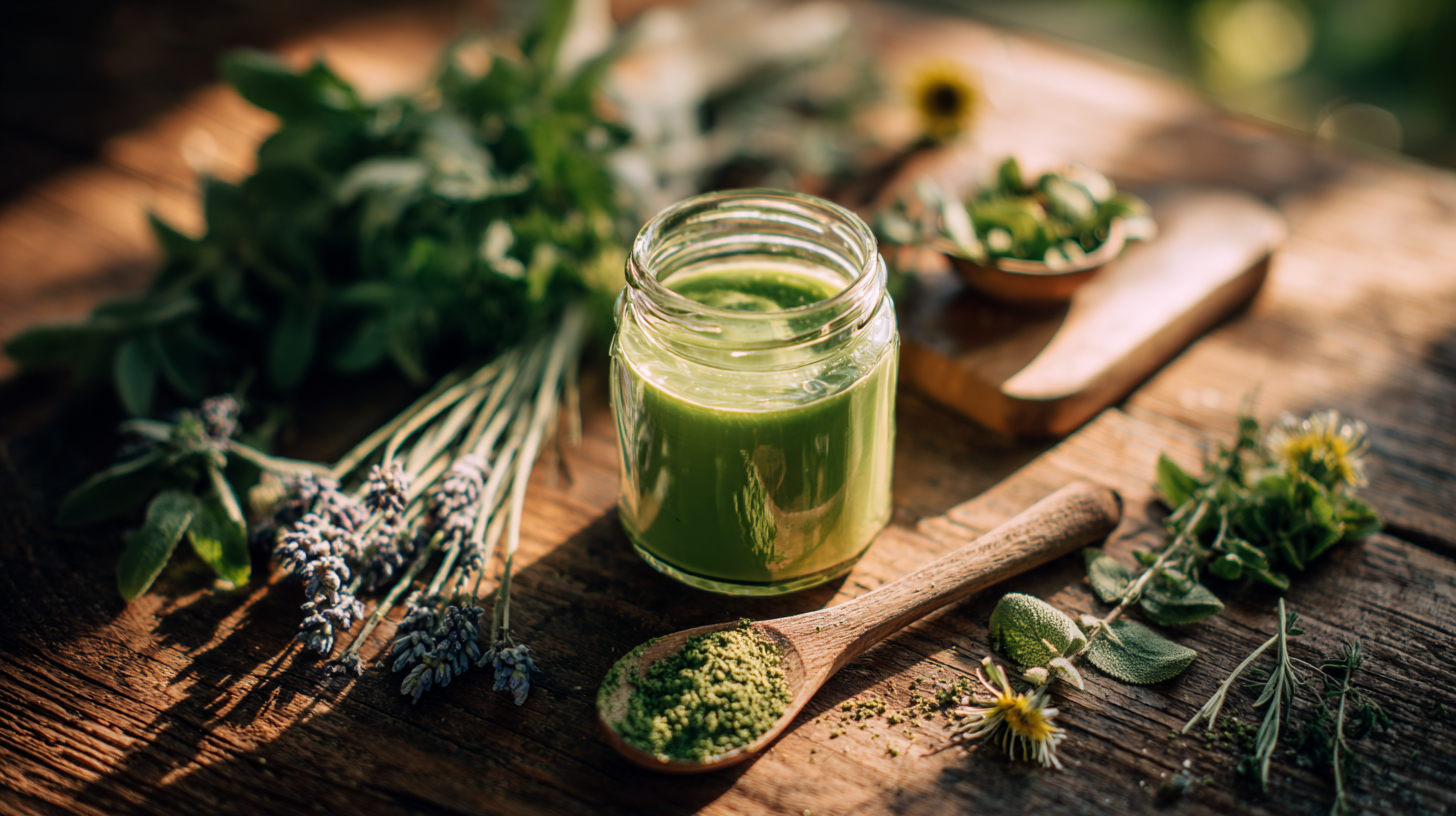
When it comes to storing your homemade natural beauty products, proper techniques are essential to maintain their effectiveness and longevity. The goal is to prevent contamination, degradation, and loss of beneficial properties, which ensures that each application remains as potent as the day it was made.
First, consider the type of container you use. Glass jars and bottles are typically preferred for DIY beauty products due to their non-reactive properties. They do not leach chemicals or react with the ingredients inside, unlike certain plastics. It’s also important to choose containers that are opaque or amber-colored for products sensitive to light, such as oils and essential oils, which can degrade when exposed to sunlight. Sealing containers with airtight lids will further prevent oxidation and contamination.
Another critical aspect is maintaining a clean workspace during the creation of your beauty products. Disinfect all tools and surfaces to minimize the introduction of bacteria or other contaminants. Always wash your hands before handling ingredients or finished products. Using utensils and tools that are dedicated to your DIY beauty endeavors—such as measuring spoons, mixing bowls, and blenders—can significantly reduce cross-contamination.
Temperature also plays a pivotal role in the preservation of natural beauty formulations. Many homemade products should be stored in a cool, dry place away from direct sunlight. If you’re creating products that contain water, such as lotions or gels, refrigeration is advisable to prevent the growth of harmful bacteria and mold. However, be mindful that refrigeration may alter the texture or consistency, making it less pleasant to use.
“Preserving the freshness of natural products requires vigilance, but the results are worth every effort.”
If you are making products in larger batches, consider dividing them into smaller portions. This way, you can open and use one while keeping the others sealed, which will prolong their shelf life. Additionally, regularly check for signs of spoilage, such as off-smells, color changes, or separation. If you notice any of these signs, it’s best to dispose of the product to avoid skin irritation or reactions.
Natural beauty products typically have shorter shelf lives compared to their commercial counterparts due to the absence of synthetic preservatives. It’s a good practice to label your creations with the date of production and to use them within three to six months, depending on the ingredients used. Essential oils and non-water-based products generally last longer, but always conduct visual and olfactory checks to ensure safety.
For those who enjoy customizing formulations, consider adding natural preservatives like vitamin E oil or rosemary extract, which can help extend the life of your products while adding additional benefits. This aspect not only promotes self-sufficiency in crafting safe, effective beauty products but also enhances your understanding of product stability.
Customizing products for specific skin types
Understanding the unique needs of your skin is essential when creating customized natural beauty products. Each person’s skin can exhibit different reactions based on various factors, including environmental influences, dietary habits, and personal health. This multiplicity is why personalizing your DIY products is not just beneficial but almost necessary for achieving the desired results.
Begin by identifying your skin type—oily, dry, combination, or sensitive. Each category has its specific characteristics and requirements. For instance, individuals with oily skin often benefit from lightweight oils such as jojoba or grape seed oil due to their non-comedogenic properties, which do not clog pores. Conversely, those with dry skin might find richer oils like avocado or sweet almond oil more beneficial for hydration. By tailoring your formulations to address these needs, you can enhance their effectiveness significantly.
Consider incorporating ingredients known for their specific benefits: for example, if you’re dealing with acne-prone skin, adding tea tree oil or witch hazel can provide additional astringent properties and help keep breakouts at bay. On the other hand, if your skin is particularly sensitive, consider using soothing additives like chamomile or calendula to calm inflammation and redness.
Testing your products before fully integrating them into your routine is equally important. Start with a patch test on a small area of skin to check for adverse reactions. This practice not only protects your skin from potential irritants but also builds your confidence in your formulations. Note how your skin responds to different recipes, adjusting ingredients as necessary to achieve the best results for your individual needs.
Furthermore, as your knowledge grows, don’t hesitate to experiment with new natural ingredients. Discovering how different oils, butters, and herbs interact with each other can lead to a deeper understanding of skincare formulations and result in products uniquely suited to your preferences. This exploration encourages a spirit of creativity and adaptability, key components in the journey toward self-sufficiency in personal care.
Maintaining a detailed journal of your experiments can be incredibly beneficial, as it allows you to track not only the recipes you create but also the results they yield over time. This method provides insights into what works best for your skin and keeps the creative juices flowing as you expand your repertoire of natural beauty products.
- What are the best natural ingredients for sensitive skin?
- For sensitive skin, gentle, soothing ingredients like aloe vera, chamomile, and calendula are excellent choices. Always perform a patch test to ensure there are no adverse reactions.
- How can I tell if a homemade beauty product has gone bad?
- Signs of spoilage include off-smells, discoloration, or separation of ingredients. If any of these occur, it’s best to discard the product to avoid skin irritation.
- Do natural beauty products have a shorter shelf life than commercial ones?
- Yes, homemade products typically have a shorter shelf life because they lack synthetic preservatives. Aim to use them within three to six months.
- Can I use essential oils in all my beauty products?
- While essential oils can enhance the benefits of natural products, they can also be irritating for some skin types. Always dilute them properly and conduct patch tests before use.
- What’s the best way to store my homemade beauty products?
- Store your products in clean, dark glass containers in a cool, dry place. For items that contain water, refrigeration is advisable to prevent bacterial growth.
- How do I know which oils are non-comedogenic?
- Non-comedogenic oils such as jojoba and grapeseed are lighter and less likely to clog pores. Research or consult reliable sources for a comprehensive list of oils suited for oily or acne-prone skin.
- Is it necessary to use preservatives in my natural products?
- While many natural formulations can thrive without preservatives, adding natural options like vitamin E oil can extend shelf life and enhance skin benefits. Always assess the need based on your product’s ingredients and use.
Safety precautions and testing methods
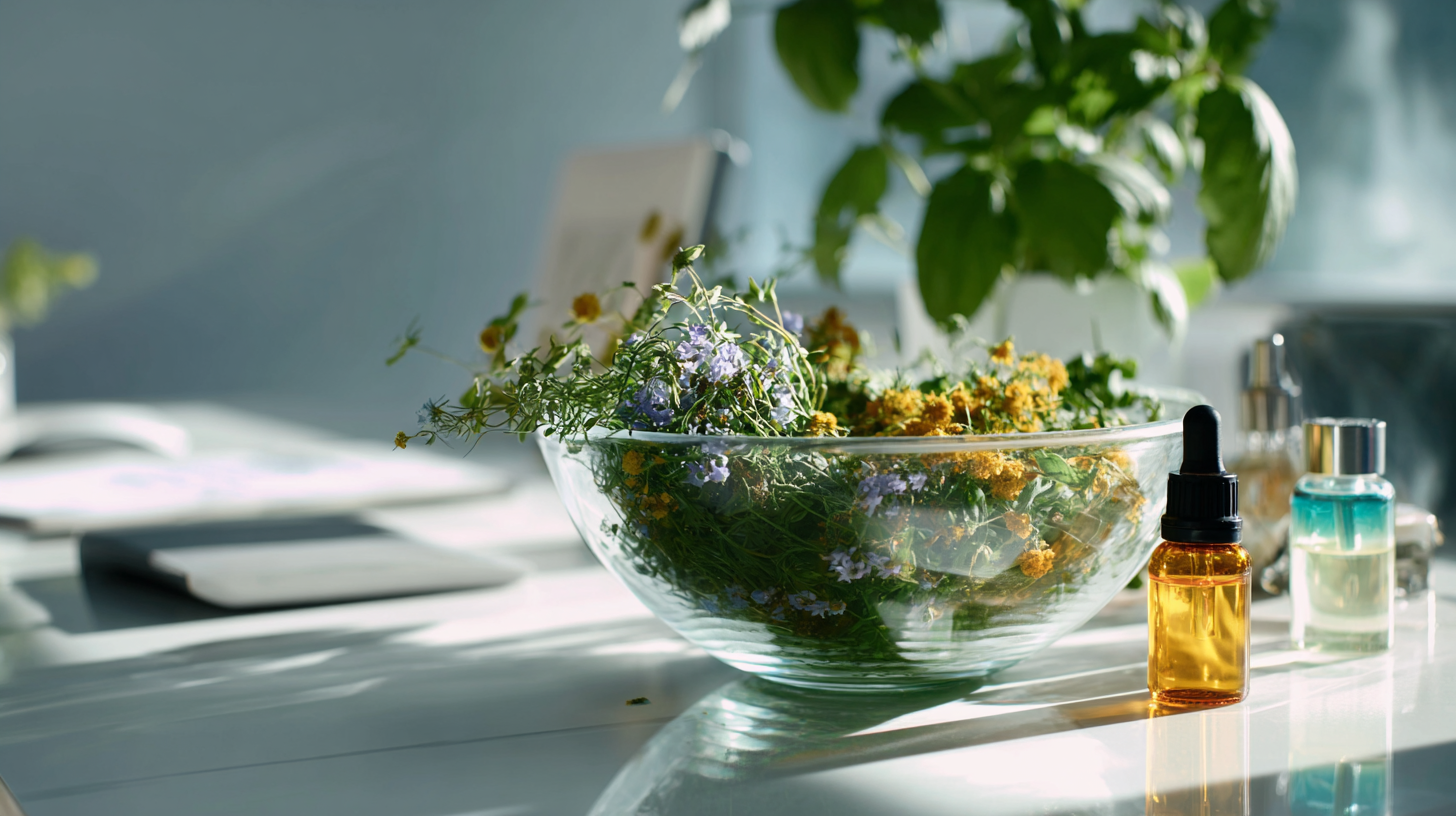
When diving into the world of creating natural beauty products, understanding safety precautions and proper testing methods is vital. Working with unprocessed ingredients can be highly beneficial, but it also comes with a responsibility to ensure your creations are safe and effective for your skin.
Before mixing your ingredients, it’s essential to assess any potential skin sensitivities and allergies. A simple yet effective way to do this is by conducting a patch test. To perform a patch test:
- Choose a small area of skin, ideally on the inside of your wrist or behind your ear.
- Apply a tiny amount of the finished product or a mixture on that spot.
- Wait 24 hours and observe for any signs of irritation, redness, or discomfort. If no reaction occurs, the product is likely safe for broader use.
Another critical aspect of safety is utilizing proper hygiene practices during the creation of your DIY beauty products. Always work in a clean environment and sterilize all your tools, including mixing bowls, measuring spoons, and storage containers, to minimize the risk of contamination. A disinfectant solution or alcohol wipes can effectively clean surfaces and equipment before you begin.
Additionally, remember that while natural ingredients generally come with fewer side effects than synthetic counterparts, they are not completely free from them. Certain essential oils or herbs may cause skin reactions depending on individuals’ sensitivities. Always research the ingredients you plan to incorporate and stay informed about common allergens such as nut oils or citrus extracts.
When experimenting with different formulations, keep detailed notes. Document each ingredient used, the amounts, and any observations about how your skin responds over time. This journal not only serves as a basis for future recipes but also helps you to refine your techniques and ensure that you’re navigating your self-sufficiency journey wisely.
Furthermore, understanding the shelf life of your homemade products is essential. Recipes comprising water or fresh ingredients may spoil quicker than oil-based or dry products. Always label your creations with the date they were made for easy tracking. A general rule is to use homemade beauty products within three to six months, depending on their composition, to ensure safety and effectiveness.
For those keen on prolonging your product’s freshness, consider natural preservatives like vitamin E oil or rosemary extract. These can help stabilize certain formulas while adding additional skin benefits, thus enhancing the quality of your natural beauty products.
Incorporating these safety precautions and testing methods not only safeguards your skin but also cultivates a mindful approach to your DIY beauty journey. It empowers you to create personalized products with confidence and creativity, all while engaging in a rewarding, self-sufficient lifestyle.