
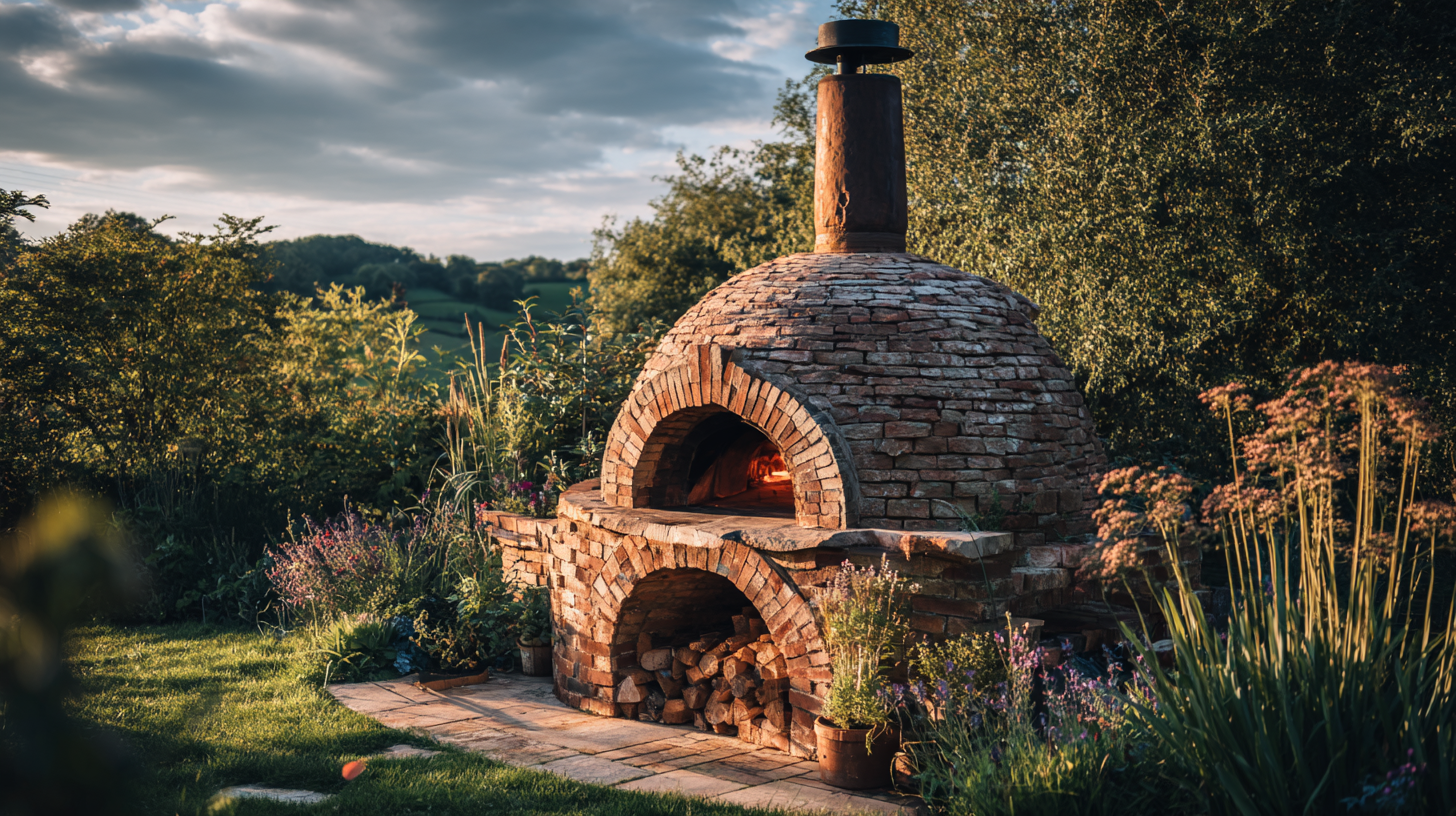
When embarking on the journey of building your own outdoor oven, one of the most critical steps involves selecting the right materials. The materials you choose will directly impact the functionality, durability, and insulating capabilities of your oven. Here’s a guide to help you make informed decisions.
First, consider the main structure of your outdoor oven. Traditional designs often utilize firebrick, which can withstand high temperatures and distribute heat evenly. If firebrick is out of your budget, you can use concrete blocks as a more cost-effective alternative. Just be sure that they are heat-resistant and suitable for high-temperature applications.
Next, think about the insulation. Good insulation is crucial for maintaining high temperatures inside the oven while keeping the exterior cool. Look for materials such as ceramic fiber insulation or rock wool, which can effectively withstand high heat while providing excellent thermal resistance.
Additionally, the mortar used for sealing the oven should also be heat-resistant. A high-temperature refractory mortar can bond your bricks together without cracking under extreme conditions. This type of mortar can typically withstand temperatures of up to 2,000°F, making it ideal for cooking methods that require high heat.
For the exterior of your oven, you may want to cover it with a layer of stucco or a similar weather-resistant material. This not only enhances the aesthetic appeal, making it a beautiful addition to your garden or backyard, but also protects the structural integrity of your oven from the elements.
Lastly, don’t overlook the importance of a durable oven door. A heavy-duty steel or cast iron door will help retain heat while allowing you to easily manage your cooking temperature. Some enthusiasts even opt for a glass door, which can add a modern touch and let you monitor your cooking without opening the oven.
In summary, selecting the right materials is foundational to achieving a successful outdoor oven project that promotes self-sufficiency and enhances your homesteading experience. Make sure to use high-quality heat-resistant materials throughout your construction to ensure longevity and effectiveness in your outdoor oven.
Consider visiting local suppliers or searching online marketplaces for the best deals on these materials, and look for recommendations from fellow homesteaders to guide you in your choices. Whether you’re a seasoned DIYer or a beginner, gathering the right materials will set you up for success in your outdoor cooking adventures!
Designing your outdoor oven
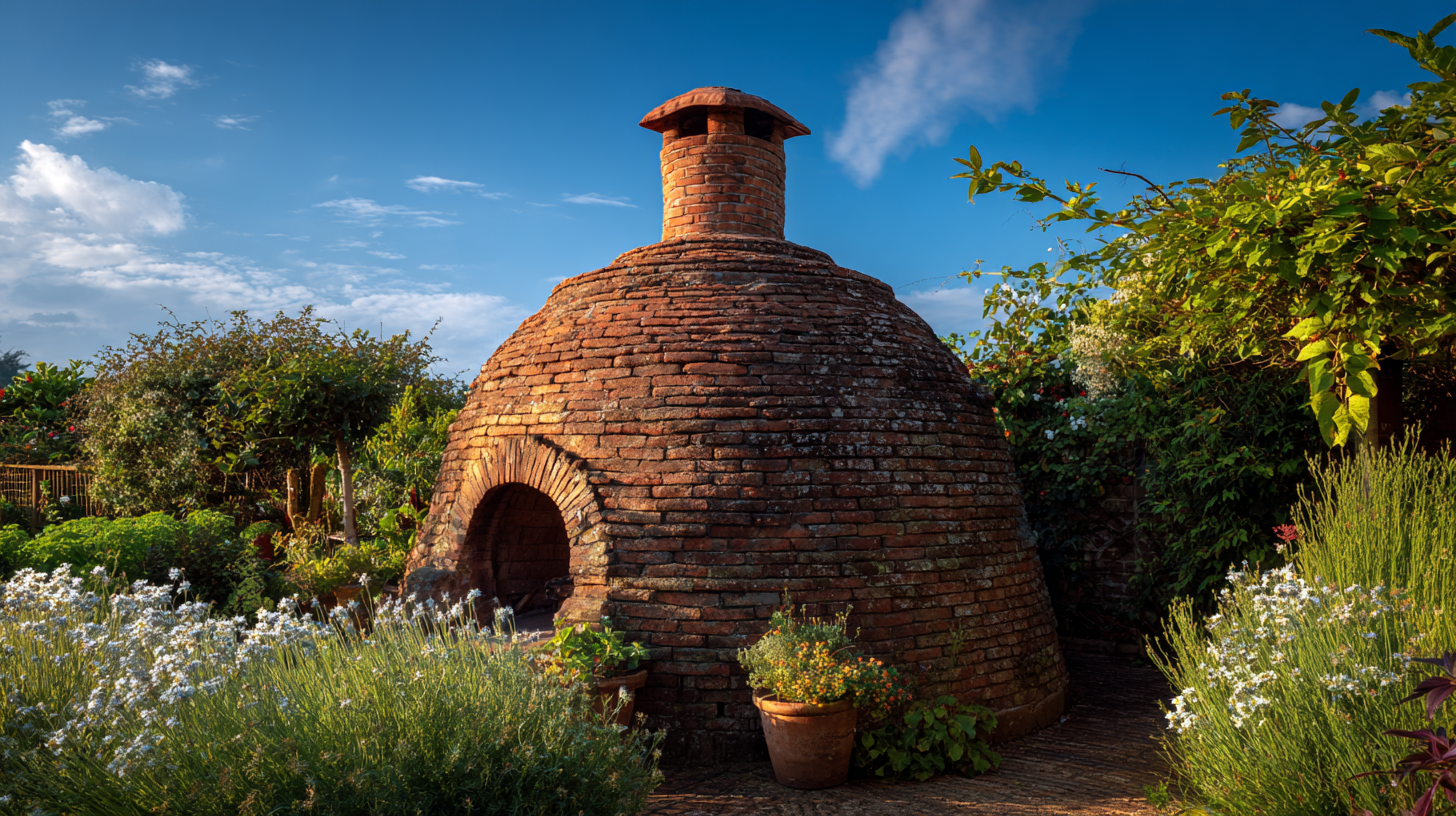
Once you have gathered your materials, the next phase in the process involves mapping out the design of your outdoor oven. Consideration of shape, size, and functionality is crucial in crafting an oven that not only meets your culinary needs but also complements your outdoor space. Start by assessing the purpose your oven will serve. Will it primarily be used for baking pizza, roasting meats, or baking bread? Understanding the primary cooking methods will guide your design choices significantly.
Typically, outdoor ovens take one of several classic forms: the traditional dome-shaped oven, rectangular brick ovens, or metal barrel designs. Each shape has its benefits and may cater to different cooking styles. For instance:
| Oven Type | Benefits | Drawbacks |
|---|---|---|
| Dome-Shaped | Excellent heat distribution, suitable for high temperatures. | Can be more complex to build and requires specific materials. |
| Rectangular Brick | Versatile; allows more space for cooking multiple dishes. | May require more insulation to maintain heat. |
| Metal Barrel | Quick and inexpensive to construct. | Less effective in heat retention compared to brick ovens. |
After choosing a shape, consider the dimensions of your oven. The size should reflect the number of people you typically cook for and the volume of food you want to prepare at one time. A good rule of thumb is to plan for at least 36 inches in internal diameter for a dome oven to ensure adequate cooking space without overcrowding.
Moreover, think about accessibility and ventilation. Ensure that your design incorporates a chimney for smoke ventilation, which will not only improve air quality but also enhance heat control within the oven. Positioning the oven at a comfortable working height is also essential, helping to avoid strain while cooking.
Another important design feature is the inclusion of a thermal mass. Having a thermal mass built into your oven—such as using brick or stone—will allow for better heat retention, facilitating longer cooking times without constant refueling. This aspect is particularly beneficial for those aspiring to achieve a level of self-sufficiency, as it minimizes the need for continuous wood sourcing and provides consistent cooking temperatures.
Lastly, personalization options can further enhance your outdoor oven. Incorporate decorative tiles, unique arches, or integrated shelving for convenience. Don’t forget to leave enough space for any necessary platforms or areas for prep work nearby, as this will ensure that your cooking experience is enjoyable and efficient.
By thoughtfully designing your outdoor oven, you can create a functional and beautiful centerpiece for your yard that not only serves as a cooking hub but also stands as a testament to your DIY spirit and dedication to self-sufficiency.
Preparing the site
As you prepare the site for your outdoor oven, ensuring the right foundation and location is crucial to achieving success in both functionality and safety. Start by choosing an appropriate spot in your yard. Look for a flat, stable area that is at least 10 feet away from any structures, trees, or flammable materials. This distance will help prevent any fire hazards and also allow for proper airflow, which is essential for effective cooking methods.
Once you have determined the ideal location, it’s time to prepare the ground. Remove any grass, weeds, or debris from the area, and dig down to level the surface. Depending on the soil type, you may need to pour a concrete slab to provide a firm foundation that can support the weight of your outdoor oven. This step is essential, especially if you are using heavy materials like bricks or stone, which require a solid base to prevent settling or shifting over time.
After establishing a level surface, consider drainage. If you live in an area with heavy rainfall, ensure that the site you select allows for good drainage to prevent water pooling around the foundation of your oven. Installing a slight slope away from the oven can help channel water away from the cooking area. In addition, surrounding the site with gravel can further aid in drainage while providing a clean and visually appealing perimeter.
When it comes to utilities, think about how you will manage firewood or charcoal storage nearby. Creating a nearby wood rack will not only ensure easy access to fuel but also maintain an organized space. Build it out of weather-resistant materials and elevate it off the ground to keep the wood dry and free from pests.
Another consideration is the layout for any additional features you want near your outdoor oven. This can include prep tables, seating areas, or a fire pit. Planning these elements into the site preparation phase of your outdoor oven project creates a cohesive cooking and entertaining space. Use natural stones or bricks to create pathways or borders that enhance the beauty of your outdoor kitchen.
Before you dive into the construction, take the time to visualize how your complete outdoor cooking area will function. Consider how you might incorporate other homesteading elements, such as herb gardens or vegetable patches, nearby. This not only promotes self-sufficiency in sourcing ingredients for your meals but also connects your outdoor oven to the greater ecosystem of your garden.
Finally, it’s wise to check local building codes or regulations regarding outdoor constructions. Some areas may have specific requirements or restrictions for outdoor ovens, especially those that use combustible materials. Ensuring compliance can save you from unforeseen complications later in your project.
With careful site preparation, you’ll lay a solid foundation for building an outdoor oven that is not only efficient but also a centerpiece for gathering and cooking in the great outdoors. By investing time and thought into the preparation phase, you’re setting the stage for an enriching outdoor cooking experience, turning your homesteading aspirations into reality.
Constructing the oven structure
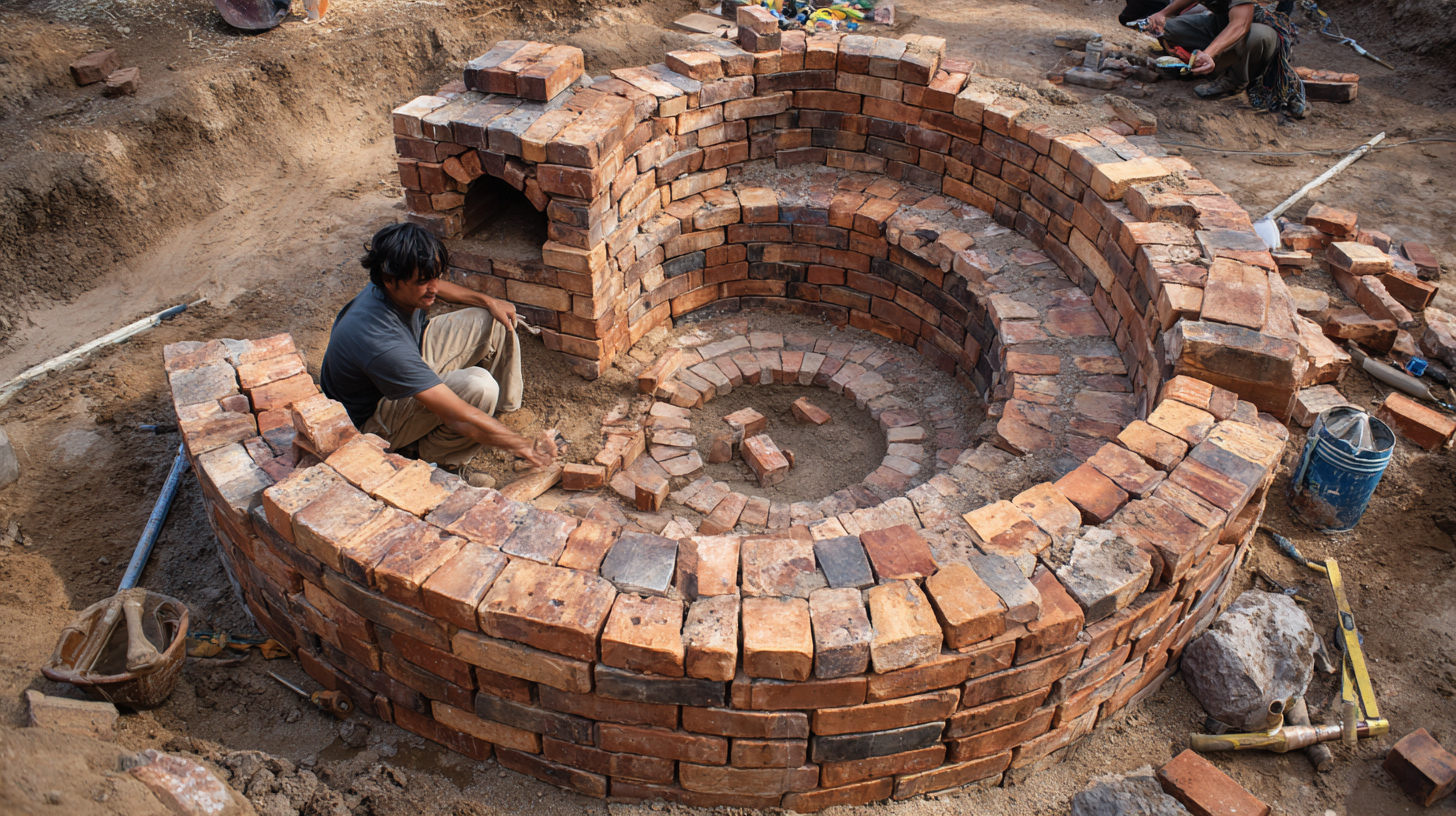
Constructing the oven structure requires a careful approach to ensure durability and functionality. Begin by gathering all your essential materials, particularly the firebrick, concrete blocks, or whichever primary material you have chosen. If you opted for a dome design, start constructing the base by laying the bricks in a circular pattern or in a rectangular form for a more straightforward design. Ensure that the base is level, as any unevenness can cause issues with heat distribution and cooking performance.
Once you have established the base, it’s time to build the walls. If you are going for a dome shape, create an arch that will eventually meet at the peak. This is typically done by using a wooden form or mold. As you place each brick, use the high-temperature refractory mortar to ensure a strong bond that will withstand the oven’s internal heat. Avoid using too much mortar, as this can affect the heat retention properties of your oven. Each brick should fit snugly together, leaving minimal gaps to prevent heat loss.
If constructing a rectangular oven, focus on building the walls straight and tall enough to accommodate the cooking height you aim for. Ensure the walls are thick enough to insulate the heat effectively, generally at least 4 to 6 inches of material. Adding insulation between the inner and outer walls can significantly enhance the heat retention of your oven, enabling it to reach and maintain high temperatures for extended cooking sessions.
As you near the top of the oven, you’ll want to consider creating a flue or chimney for ventilation. This is crucial for allowing smoke to escape while providing the needed airflow for your cooking methods. Carefully plan the location of the opening, aligning it with the highest point of your oven to ensure optimal functionality. A well-placed chimney will not only enhance your cooking experience by controlling smoke but also make the oven more efficient overall.
Completing the structure of your outdoor oven also involves finishing touches like the entryway. Ensure the door is adequately sized to maintain airflow while being large enough to accommodate whatever you will be cooking, whether it is a pizza, a loaf of bread, or a roast. If desired, consider a door with a window to monitor cooking progress without opening the oven.
When the main structure is complete, and the mortar has cured, it’s time to inspect the entire oven. Look for cracks or areas needing additional reinforcement. Making any necessary repairs at this stage will save you time and effort later, ensuring that your outdoor oven is ready for use.
“A well-built oven can serve as the heart of your cooking experience, transforming simple gatherings into memorable feasts.”
Allow your oven to fully cure and dry before using it. Curing typically involves a low heat burn to help set the mortar and bricks. Follow the best practices for your chosen materials to avoid any issues later down the line. With a sturdy structure in place, your outdoor oven will be set to bring joy and an array of cooking possibilities, enhancing both your culinary adventures and your self-sufficiency journey.
Insulating and finishing touches
Insulating your outdoor oven is a pivotal step that directly influences its efficiency and performance. Proper insulation ensures that heat is conserved within the oven, allowing it to reach high temperatures more quickly and maintain them for extended periods—crucial for achieving the best results with various cooking methods. To achieve this, it is essential to layer insulation both beneath and around the cooking chamber. High-temperature ceramic fiber or mineral wool are excellent options, as they can withstand intense heat while effectively minimizing heat loss. Aim for at least 2 to 4 inches of insulation surrounding the inner oven walls, allowing for optimal heat retention.
Once the insulation is in place, consider finishing the exterior. A coat of stucco or stone can provide not only aesthetic appeal but also an additional layer of protection against the elements. Employ a weatherproof sealant to ensure that moisture doesn’t infiltrate the insulation materials, degrading their effectiveness over time. When applying the finish, allow for adequate curing time and ensure that you follow local climate considerations with the materials selected.
Additionally, think about integrating practical features such as a shelf or side table for easy access to your cooking utensils and ingredients. This can enhance your outdoor cooking experience, streamlining your workflow and making it far more enjoyable. You might also want to think about including space for a wood storage rack nearby, keeping your cooking fuel organized and ready to use, which further contributes to your self-sufficiency.
Finally, incorporate a chimney or vent to channel smoke away from your cooking area. Ensure that this structure is tall enough and correctly positioned to facilitate proper air circulation within the oven. A well-designed chimney will not only direct smoke away but also help regulate temperature and airflow, critical for creating the perfect environment for cooking.
Take the time to personalize your oven with unique decorative elements or functional upgrades that resonate with your style and needs. Whether it’s ornate tiles, a customized door, or integrated heating elements, these final touches can elevate the project from a simple outdoor oven to a centerpiece of companionship and creativity.
- What is the best insulation material for an outdoor oven?
- High-temperature ceramic fiber or mineral wool are excellent choices for insulating your outdoor oven. These materials withstand extreme heat while minimizing energy loss, ensuring efficient cooking.
- How do I ensure my outdoor oven can withstand rain and moisture?
- Applying a weather-resistant finish, such as stucco or stone, can protect your oven from rain and moisture. Additionally, ensure that your insulation materials are properly sealed to prevent water damage.
- Can I use regular mortar for my outdoor oven?
- No, it’s essential to use high-temperature refractory mortar when building an outdoor oven. This type of mortar can withstand extreme heat and prevent cracking or damage during cooking.
- How much insulation do I need for an outdoor oven?
- Aim for at least 2 to 4 inches of insulation around the cooking chamber. Adequate insulation retains heat and improves cooking efficiency by maintaining consistent temperatures.
- What is the ideal height for an outdoor oven?
- The ideal height for an outdoor oven should allow you to cook comfortably without strain. A height of around 30-36 inches is generally optimal, allowing easy access for cooking and tending the fire.
- How should I prepare the base for my outdoor oven?
- Establish a level foundation with a solid surface, such as a concrete slab. This ensures that your oven remains stable, preventing settling or shifting that could affect cooking performance.
- What features can make my outdoor oven more functional?
- Consider adding shelves or tables for prep work, a storage rack for firewood, and a properly designed chimney for smoke ventilation. Personalizing your oven with unique details can also enhance its functionality.
Cooking techniques and recipes
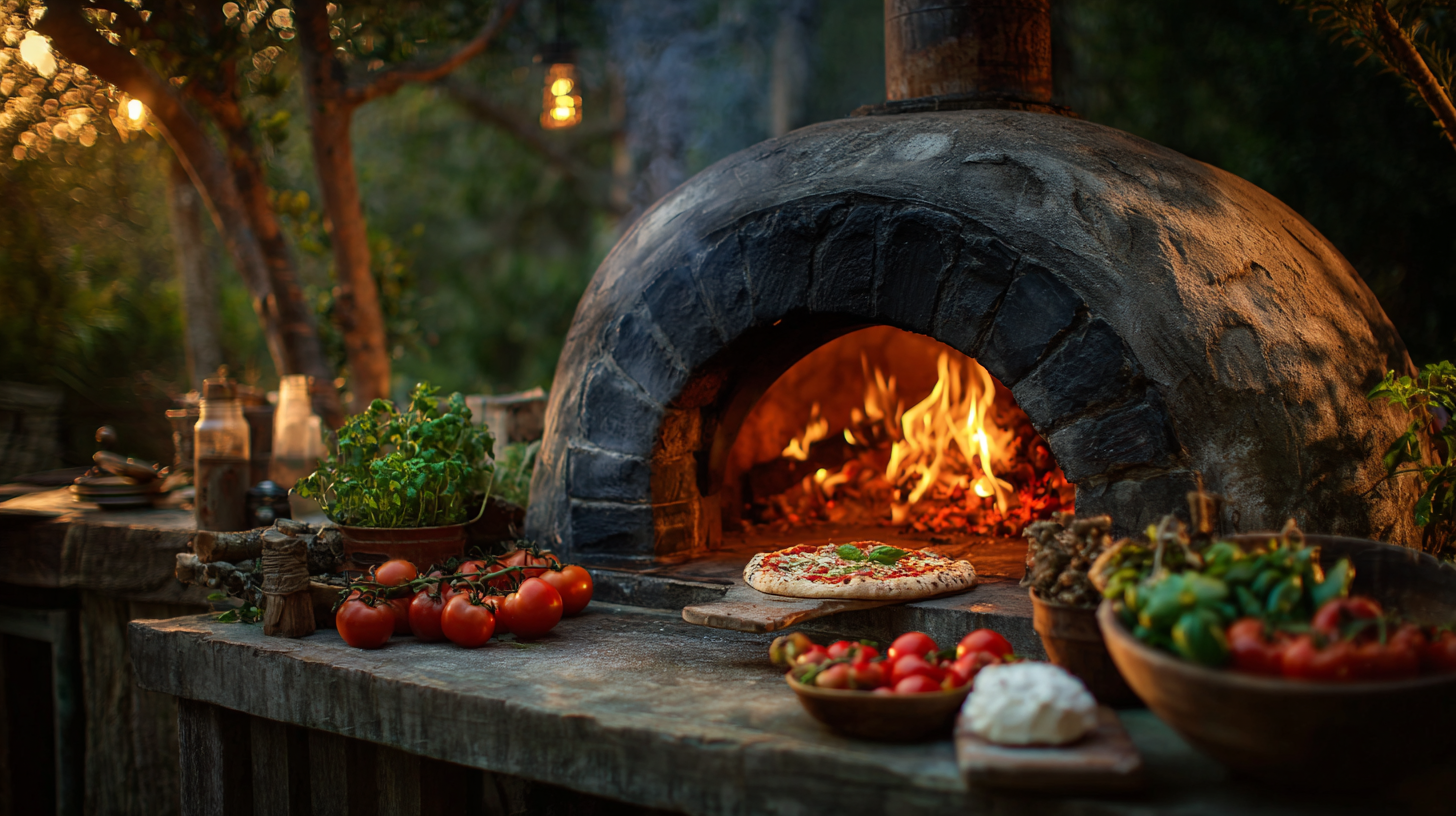
When it comes to making the most of your outdoor oven, mastering a variety of cooking techniques opens a world of culinary possibilities. Harnessing this exceptional cooking tool allows you to experiment with traditional methods and commit to a self-sufficient lifestyle, where you can create everything from artisan bread to succulent roasted meats right in your backyard.
One of the most popular methods is wood-fired pizza. For achieving that perfect crust, preheat your oven until it reaches between 700°F to 900°F. Use a pizza peel to transfer your assembled pizza into the oven, and bake for about 90 seconds to 2 minutes for a delightful char and crispy base. Consider using a simple combination of fresh tomatoes, mozzarella, and basil for a classic Margherita pizza, or get creative by incorporating local vegetables and herbs from your homestead.
Another effective cooking method is roasting. Roasts have a unique flavor that develops beautifully in wood-fired ovens. For cuts like chicken or pork, aim for a cooking temperature around 350°F to 400°F. Utilize a cast iron skillet to hold your meat and vegetables, allowing them to cook uniformly and give you added flavor from the drippings. You should regularly check the internal temperature, as roasting can result in meals that are both tender and juicy when done right.
Baking bread is an art in itself that finds a magical pairing with outdoor ovens. With the ability to reach high temperatures, these ovens mimic the environment of a professional bakery. To create a beautiful crust, preheat your oven to about 500°F, and place a cast iron Dutch oven inside to heat. Once ready, transfer your dough into the pot, cover it, and slide it back into the oven. After 30 minutes, remove the lid for the last 15 minutes to achieve that golden finish. There’s nothing quite like the aroma of freshly baked bread wafting through your yard, keeping your homesteading spirit alive.
Don’t overlook smoking as an exciting cooking method, too. Use your outdoor oven to achieve that smoky flavor profile by integrating wood chips into the fire or by utilizing a dedicated smoking box. A temperature range of 200°F to 250°F allows for items like ribs or brisket to slowly absorb those smoky flavors while ensuring tender, moist results. Let these meats smoke for several hours, and you’ll impress even the toughest critics at your next gathering.
For sides, consider utilizing your oven to cook vegetables. Wrapping them in foil with a bit of oil and seasoning allows them to retain moisture and flavor, letting them steam beautifully in the ambient heat. Root vegetables like potatoes, carrots, and sweet potatoes roast exceptionally well this way.
Lastly, don’t forget about desserts! A wood-fired oven can bake delicious treats, such as fruit tarts or cobblers, that take advantage of the residual heat after the main meals. Just allow the oven to cool slightly before introducing dessert, which can cook at lower temperatures while still getting that lovely, smoky flavor.
As you’re experimenting with these cooking methods, keep track of your timings and temperatures. Documenting your experiences can elevate your outdoor cooking repertoire and enhance your self-sufficiency journey. Share your trials and tribulations with fellow homesteaders online or in communities, and you’ll cultivate a treasure trove of delicious recipes to enjoy for years to come!