
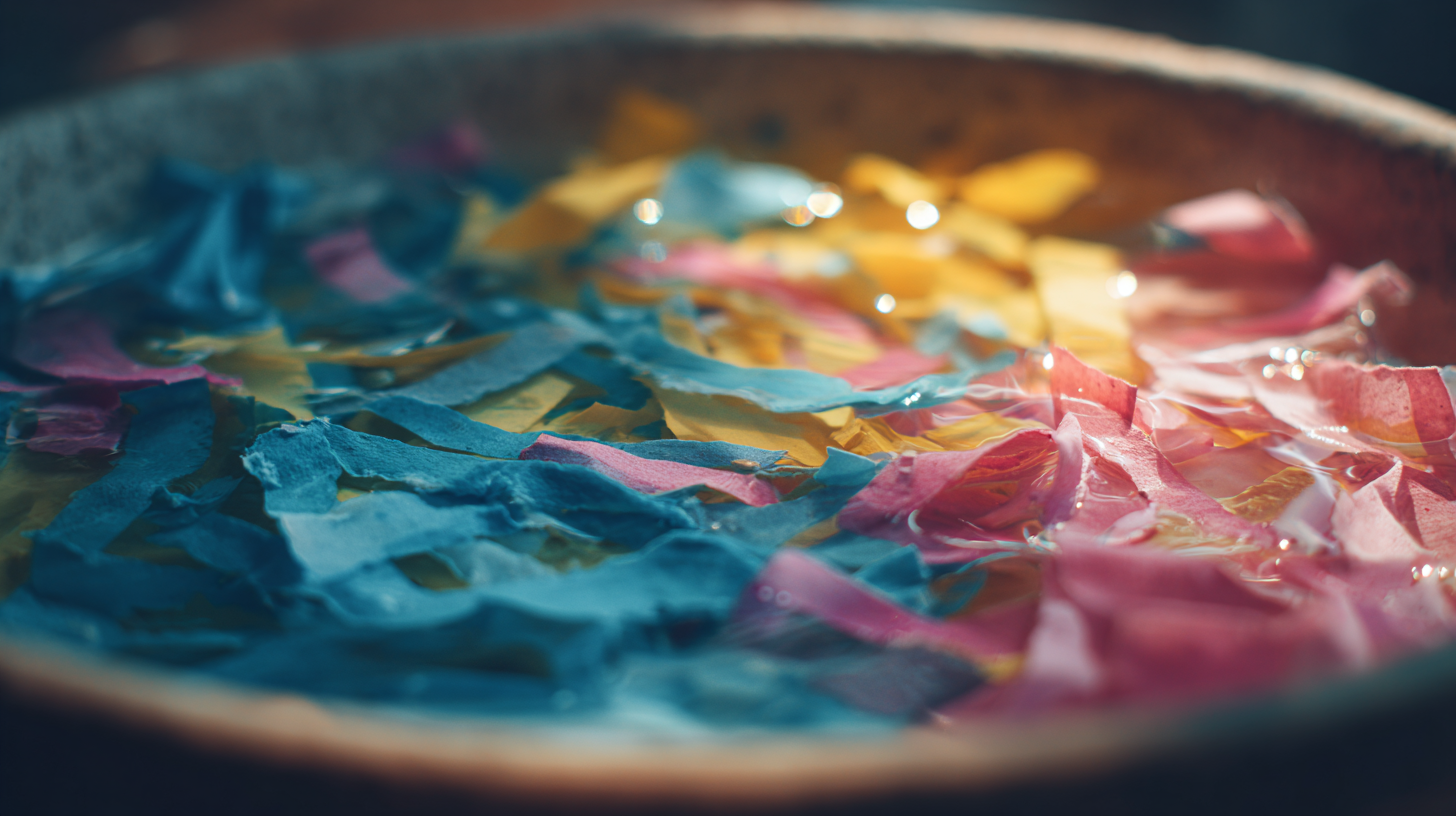
Creating homemade paper is a rewarding and sustainable practice that allows you to tap into your self-sufficiency skills while enjoying a fun craft. To start your paper-making journey, gather the following materials. It’s both simple and accommodating, making it suitable for anyone, including families eager to teach children the value of recycling.
- Recycled Paper: You can use old newspapers, magazines, office paper, or even cardboard. Make sure to avoid glossy paper, as it does not blend well and can ruin your pulp.
- Water: This is essential for soaking and blending your recycled paper into a pulp.
- Blender: A standard kitchen blender or even an immersion blender will work for creating the pulp.
- Fine Mesh Screen or Old Window Screen: This will act as your mold and help define the shape of your sheets.
- Rolling Pin or Sponge: For pressing excess water out of the pulp and achieving a smooth finish.
- Flat Surface for Drying: You’ll need a clean, flat area, like a tray or countertop, to let your paper sheets dry.
- Coloring Natural Additives (Optional): Consider using dried flowers, seeds, or herbs to add unique textures and colors to your homemade paper.
Before you begin, remember to save your materials in a designated spot; it can be an exciting family project to gather leftovers instead of tossing them in the recycling bin. By turning what would be waste into beautiful sheets of homemade paper, you are actively contributing to a more sustainable lifestyle. Enjoy the creativity and learnings that come along with this fulfilling activity!
Preparing the recycled materials
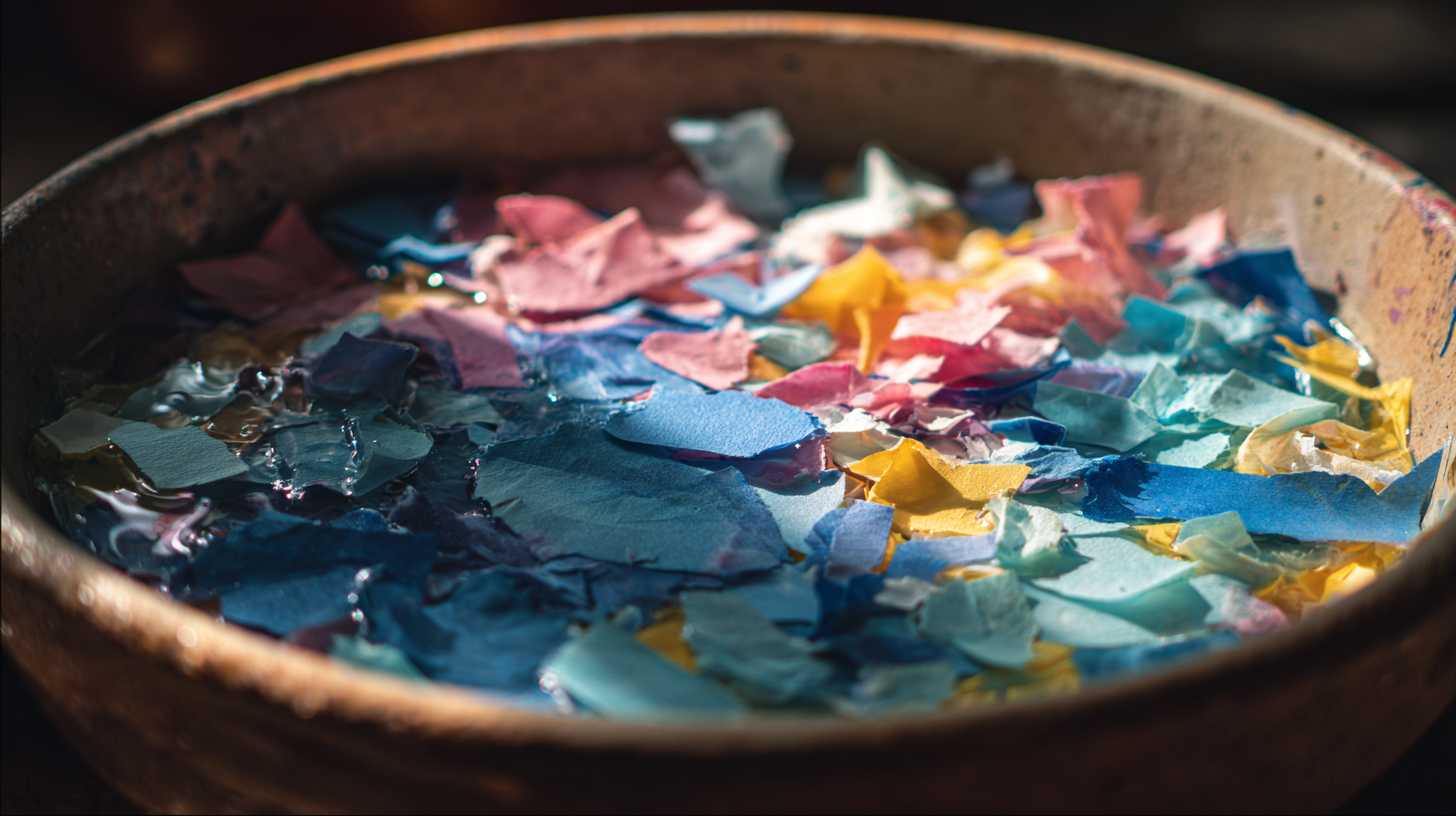 To prepare your recycled materials for making homemade paper, start by sorting through your collection of old papers. Aim for a diverse mixture to create unique textures and colors in your final product. Take care to remove any non-paper items, such as plastic or metal bindings, which can disrupt the blending process and compromise the integrity of your pulp.
Once you have your selected papers, tear them into small pieces approximately 1-inch in size. This helps increase the surface area to ensure they will soak up water effectively. Place the torn pieces into a large bowl or container and fill it with enough warm water to submerge the paper completely. Allow the paper to soak for at least a few hours or overnight for best results. Soaking not only softens the fibers but also encourages the breakdown of ink and other substances, making it easier to create a smooth pulp.
After soaking, drain any excess water. It’s advisable to keep this water as it can be reused in your blending process, ensuring minimal waste. Next, add the soaked paper pieces into your blender. Depending on the size of your blender, you may need to do this in batches. Add enough water to cover the paper, but remember that too much water can lead to a very runny pulp that is challenging to manage.
Blend the paper and water on a low setting at first to break apart the fibers, gradually increasing the speed until you achieve a smooth, thick consistency. Stop blending once the mixture reaches a slushy texture resembling applesauce. If you want to incorporate color or texture, this is the time to add your natural additives, such as dried flowers or herbs, to the mixture.
To better understand how different materials influence the final paper, refer to the following table comparing various types of recycled papers and their impact on the homemade paper outcome:
| Type of Recycled Paper | Color Result | Texture | Recommended Uses |
|---|---|---|---|
| Newspapers | Grayish-brown | Rough | Basic crafts, wrapping paper |
| Magazines | Various bright colors | Smoother | Greeting cards, artistic projects |
| Office Paper | White or off-white | Medium | Stationery, invitations |
| Cardboard | Brown | Heavy and textured | Postcards, craft projects |
This preparation phase is critical as it sets the foundation for your pulp and ultimately influences the quality of your homemade paper. With the materials ready and properly treated, you are now equipped to blend the pulp, transitioning seamlessly into the next exciting stage of your paper-making adventure.
Blending the pulp
Now that you have your soaked and prepared paper materials, it’s time to dive into the blending process. This step is where the magic of recycling truly transforms your old paper into a pulp that will become your new homemade paper. Make sure your blender is clean and ready to go; a quick rinse is all it needs if you’ve used it for other recipes.
Begin by adding your soaked paper pieces into the blender. It’s essential to do this in manageable batches to avoid overwhelming your blender’s motor. Fill each batch with enough water to just cover the paper, but avoid flooding it; too much water can dilute the mixture, making it harder to achieve the right pulp consistency. If you’re unsure about how much water to add, start with a 1:1 ratio of paper to water, adjusting it as necessary based on your blend’s texture.
Once your paper and water are in the blender, secure the lid firmly. Start blending on a low setting to break up the paper pieces without splashing water everywhere. Gradually increase the speed until your mixture looks like a smooth, slushy consistency, similar to thick applesauce. This should take about 1-2 minutes, depending on the power of your blender.
During the blending process, you can opt to incorporate a few surprises into your homemade pulp. Adding natural colorants such as turmeric for a yellow hue, beet juice for a pink tone, or colorful flower petals will not only enhance the visual appeal of your final sheets but also add a personal touch. Keep in mind that the more additives you include, the less uniform your paper may become, so balance creativity with functionality.
After achieving the desired pulp consistency, it’s wise to conduct a simple test to ensure you are ready for the next step. Take a small amount of the pulp and press it between your fingers. If it holds together yet retains some moisture without being overly soggy, you’ve nailed it! If it crumbles too easily, add a bit more water and blend briefly until it reaches the right consistency.
When your pulp is ready, it’s important to pour it into a large container where you can mix it further if needed. At this point, consider collecting any leftovers to recycle again, a perfect demonstration of self-sufficiency and minimizing waste. If you want to make multiple batches of different colors or textures, take note of this blended pulp and its unique characteristics—it can inform your future recycling efforts!
With your blended pulp ready and infused with potential, you’re now set to form the paper sheets, bringing this enjoyable homesteading project closer to completion. Prepare to get your hands a little messy, as it’s time to transform that vibrant pulp into beautiful sheets of homemade paper that reflect your creativity and commitment to recycling.
Forming the paper sheets
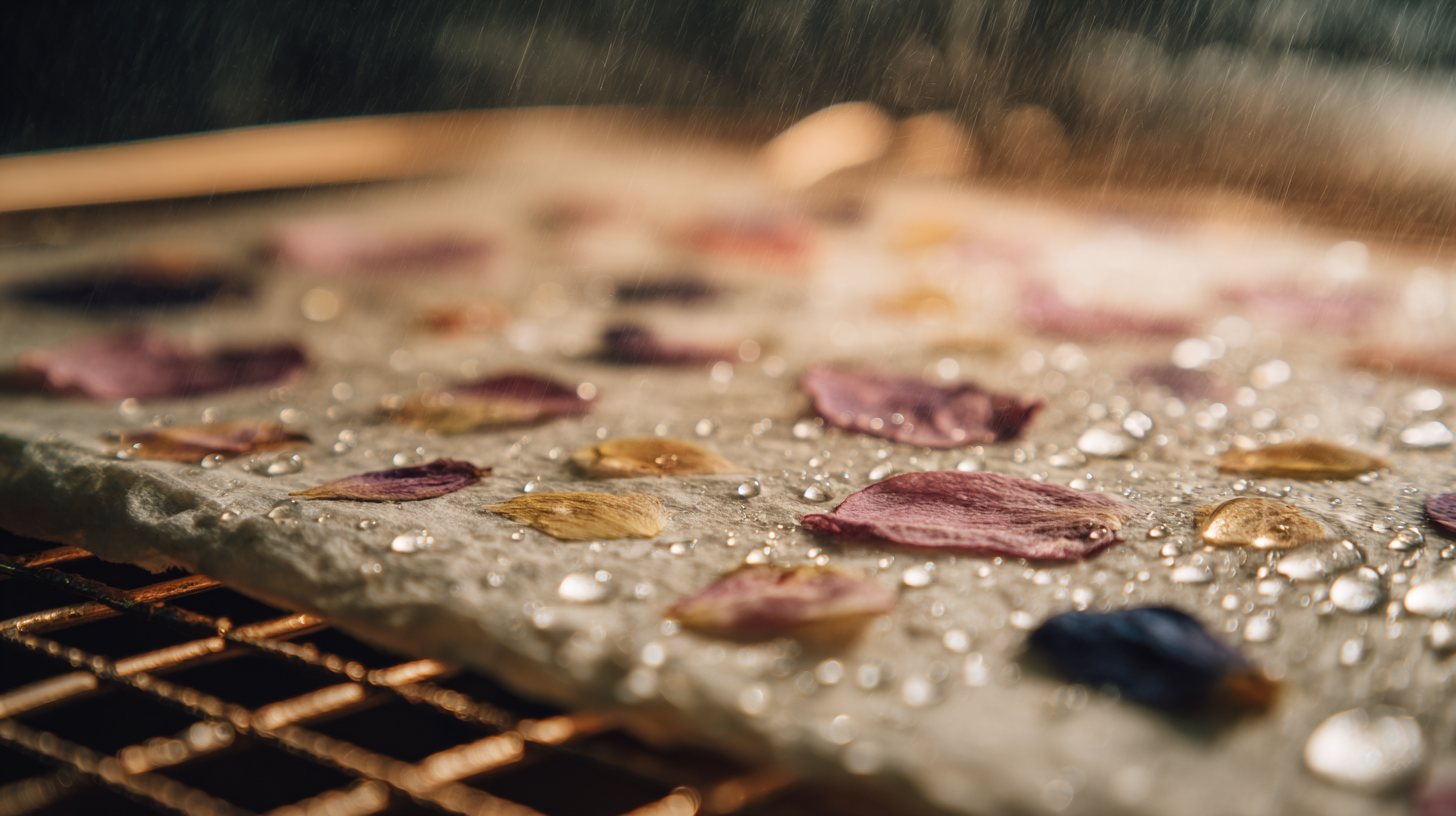 To form your paper sheets, start by laying out your fine mesh screen or old window screen on a flat surface. This will serve as the mold for your homemade paper and will help define its shape. Ensure the screen is placed over a basin or tray to catch any excess water during the process—this will help minimize mess and make cleanup easier.
Once your screen is ready, gently pour a sufficient amount of the blended pulp onto the center of the mesh surface. You want to create a mound of pulp that is not too thick—around half an inch is ideal. If you’re making multiple sheets of paper, remember to keep enough space between each mound to avoid them merging together when pressed.
Using your hands, spread the pulp evenly across the screen, pressing down lightly to ensure it fills the entire mold. Aim for a uniform layer as this will contribute to a smoother final product. If you have any natural additives, like petals or seeds, sprinkle a few on top for added texture and beauty, lightly pressing them into the pulp to secure them in place.
Now it’s time to remove the excess water, which is essential for ensuring a firm and solid sheet. You can either use a sponge or a rolling pin for this step. If using a sponge, gently press it onto the surface of the pulp. The sponge will absorb water, allowing the pulp to begin setting. Be careful not to press too hard, as this could cause you to displace the pulp too much.
If you prefer a smoother finish, a rolling pin will work wonders. Place a clean cloth over the pulp before rolling to protect it and absorb even more water. Roll gently from one side to the other, allowing the weight of the pin to do the work. You should see water pooling around the edges of the mold as it is pressed out.
After you’ve removed as much water as possible, it’s time to detach your new creation from the screen. This can be somewhat delicate, so take your time. Carefully lift the screen off and flip it over onto a flat surface, such as your drying tray or countertop. Gently peel back the screen, revealing your freshly formed sheet of homemade paper. If it seems to stick a bit, you can use your fingers to coax it free.
Repeat the process for any remaining pulp until you’ve made all the sheets you desire. Depending on how thick you made your sheets and the humidity in the air, the drying time may vary.
“Art is the most beautiful of all lies.” – Claude Debussy
As your sheets dry, keep in mind that you can adjust their final texture by placing heavier objects on them or allowing them to naturally flatten out over time. Regularly monitor the drying process, flipping the sheets if necessary to encourage even drying. Once dried completely, your sheets will be ready for use in various projects, showing off not only your creativity but also your commitment to recycling and self-sufficiency.
Drying and finishing the paper
As your paper sheets dry, you enter a phase that markedly impacts the final quality of your homemade paper. The drying process is crucial for setting the fibers and achieving the desired texture, so it pays to be attentive. Place each sheet on a clean flat surface, ensuring that they are not touching one another to avoid any sticking. Depending on the ambient temperature and humidity, it typically takes anywhere from 24 to 48 hours for your sheets to fully dry.
To encourage uniformity, consider flipping the sheets halfway through the drying period; this will help eliminate any moisture that may remain trapped on one side and prevent warping. If you want to retain a slightly textured surface, leave them as is. However, for a smoother finish, you can place a weight on top of each sheet to gently flatten them out as they dry.
Once your homemade paper is fully dried, you can enhance its aesthetic appeal by trimming the edges with scissors or creating decorative shapes, adding an element of creativity to your final product. If you want to personalize your sheets even further, you can incorporate natural finishes like beeswax or a light coating of olive oil, which can also protect your paper from moisture and wear.
Not only will you enjoy the outcomes of your crafting efforts, but this stage allows for reflection on the crafting process as a whole. Think about how recycling old materials can lead to new, functional creations—a wonderful testament to the principles of self-sufficiency and sustainability.
To further your exploration of handmade paper and its many uses, consider documenting the variations in size, thickness, and texture of the finished sheets. Each batch you create not only enhances your skills but also expands your knowledge of how different types of recycled materials affect the final outcome. Embracing this experimentation will deepen your relationship with the art of paper-making and inspire new ideas for projects you may undertake in the future.
- How long does it take for homemade paper to dry?
- Dried completely, homemade paper usually takes about 24 to 48 hours to fully dry, depending on the humidity and temperature of the environment.
- Can I use colored paper for making homemade paper?
- Yes, you can use colored recycled paper, but keep in mind that the dyes may affect the color of the final product. Test with small batches to see how the colors blend.
- What types of paper can be recycled for this project?
- Common items like newspapers, magazines, office paper, and cardboard work well. Avoid glossy or coated papers as they won’t break down effectively.
- Is it possible to add scents or fragrances to homemade paper?
- You can infuse scents by adding natural ingredients like essential oils or dried herbs during the pulping stage, giving your paper a delightful aroma.
- What can I do with my homemade paper once it’s dry?
- Homemade paper is great for various projects, such as making greeting cards, scrapbook pages, gift wrap, and even tags for your garden herbs or flowers.
- What tools do I need to make homemade paper?
- Essential tools include a blender, a fine mesh screen, a rolling pin or sponge, and a flat drying surface. These items help in preparing, blending, and forming the paper.
- Can I save leftover pulp for later use?
- Yes, you can store leftover pulp in an airtight container in the refrigerator for a short time, usually a few days. Just remember to give it a good stir before using it again.
Creative uses for your homemade paper
Once you’ve crafted your beautiful sheets of homemade paper, the possibilities for creative uses are virtually endless. Not only does this venture allow you to express your creativity, but it also reinforces your commitment to recycling and self-sufficiency. Here are some exciting ways to put your handmade creations to work in your daily life:
- Greeting Cards: Transform your paper into charming greeting cards for any occasion. Use stencils or stamps to add unique designs, and consider incorporating pressed flowers or herbs melded into the paper for an artistic touch. Friends and family will appreciate the special effort you’ve put into crafting a one-of-a-kind card.
- Scrapbook Pages: Your homemade paper can serve as the perfect backdrop for memorable photographs and mementos. Customize your pages with colors and textures that reflect your personal style. This will not only enrich your scrapbook collection but also create lasting keepsakes.
- Gift Wrap: Instead of store-bought wrapping paper, consider using your homemade creations to wrap gifts. Personalizing each present adds a heartfelt touch, making each gift feel even more special. For an added flair, use string, twine, or natural embellishments like cinnamon sticks and dried flowers to accentuate your wrapped gifts.
- Tags and Labels: Cut your sheets into various sizes to create unique tags for gifts, plants, or even homemade jams. This is an excellent way to label your garden herbs or to add a personal touch to your creations when giving them as gifts.
- Art Projects: Children and adults alike can use homemade paper for various art projects. Try painting, drawing, or collaging on the textured surfaces you’ve created. This not only provides a platform for artistic expression but also introduces children to the importance of recycling and creativity.
- Stationery Sets: Convert your homemade paper into beautiful stationery. Pair it with matching envelopes (which can also be made from leftover paper) for a charming set that can be used for personal letters, thank-you notes, or even casual correspondence. The tactile quality of handmade paper makes writing a delightful experience.
- Homemade Journals: Bind several sheets together to create a unique journal or sketchbook. Customize the cover with decorative embellishments or use stencils to create a fun design. This is not just a practical application, but it also serves as a creative outlet, encouraging you to jot down thoughts or sketch whenever inspiration strikes.
As you explore these various uses for your homemade paper, be mindful of how each project can align with your values of recycling and self-sufficiency. Each creative endeavor not only showcases your skills but also inspires others to embrace sustainability in their own lives. Plus, involving children in these projects enables a wonderful opportunity for bonding while instilling the importance of repurposing materials for future generations.
So gather your supplies, channel your creativity, and start crafting with your homemade paper today—who knows what beautiful creations await!